This article will explain the process of the Wash & Protect Package.
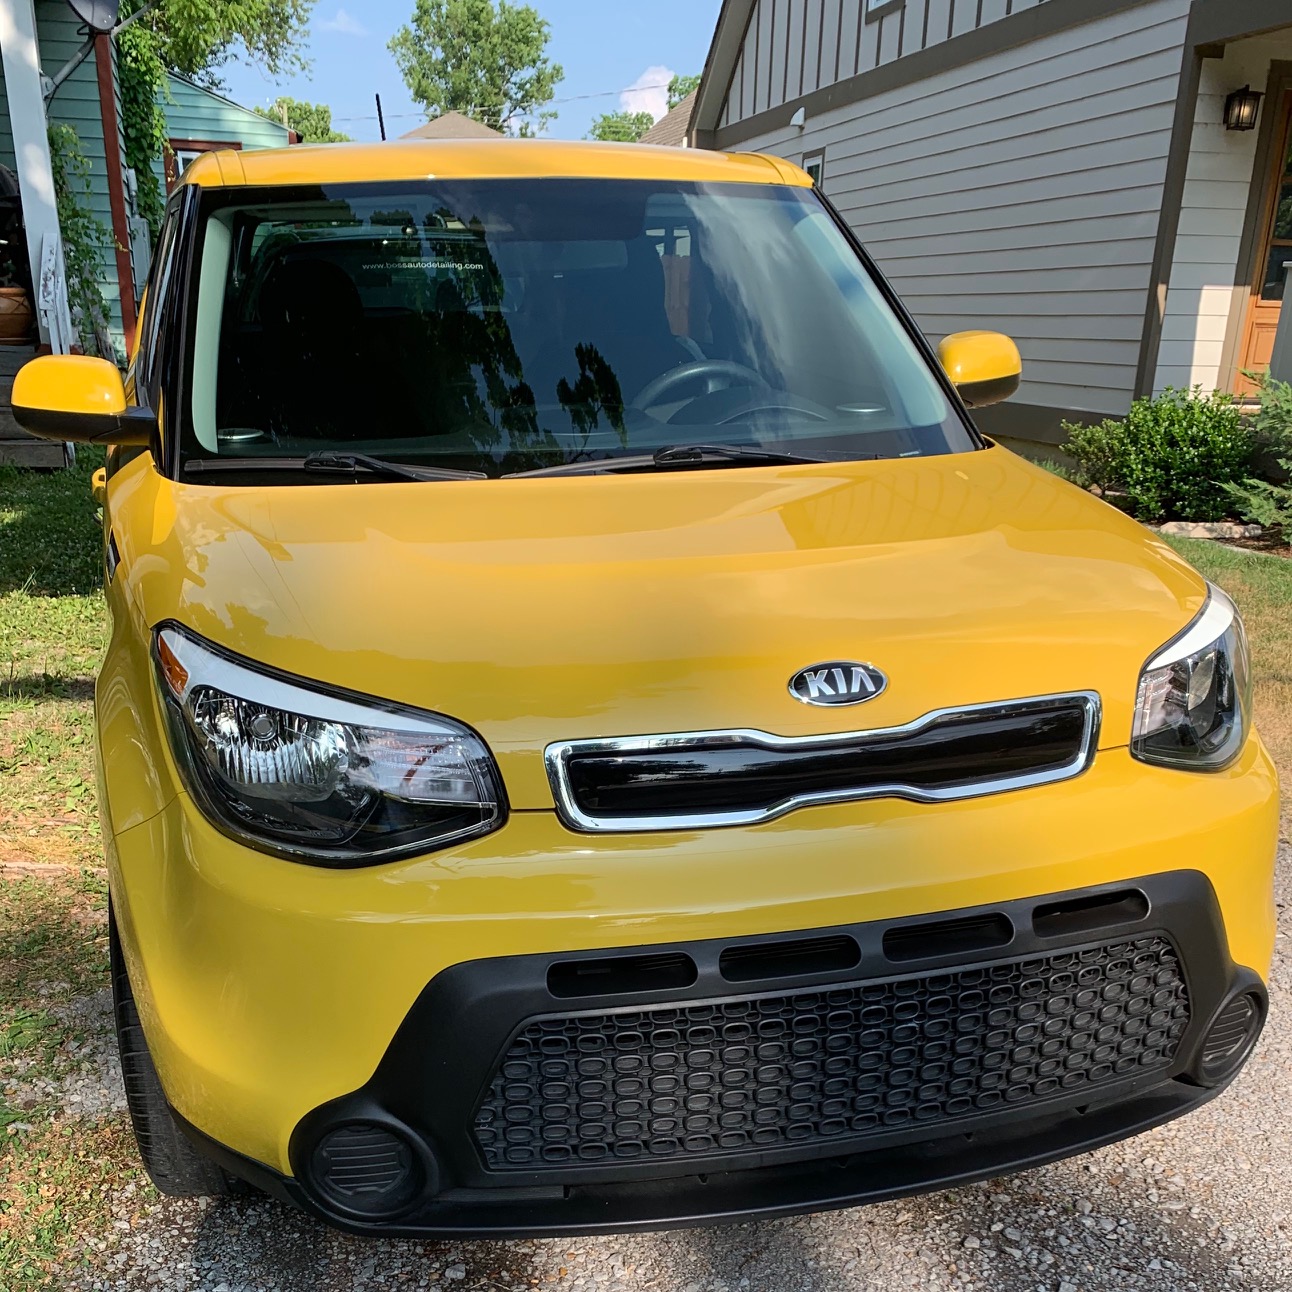
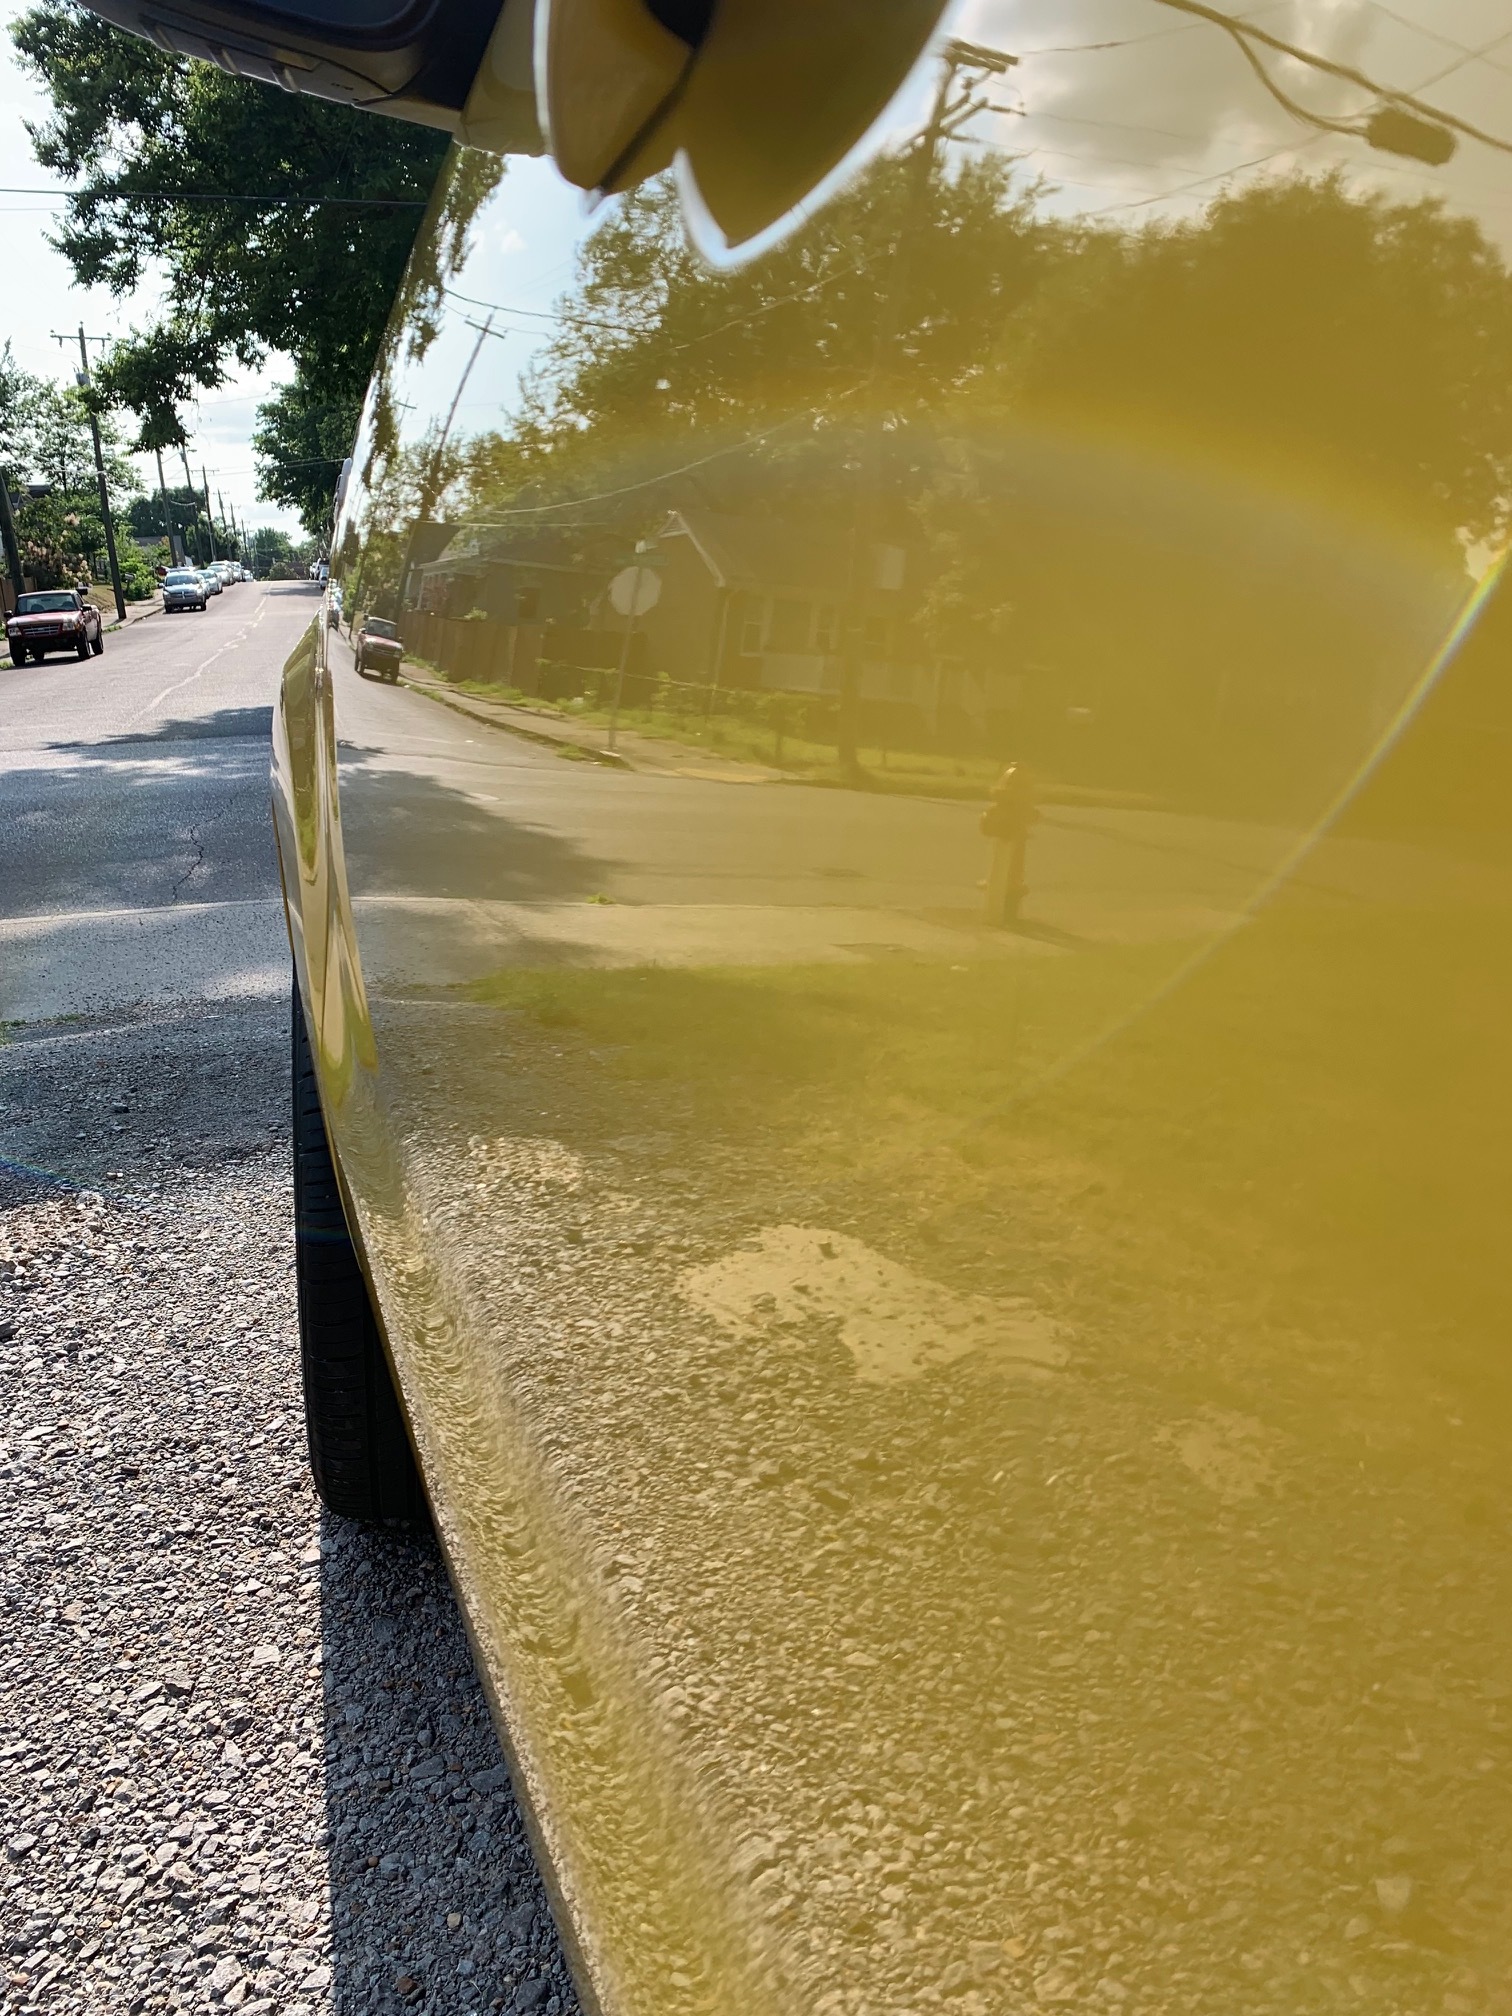
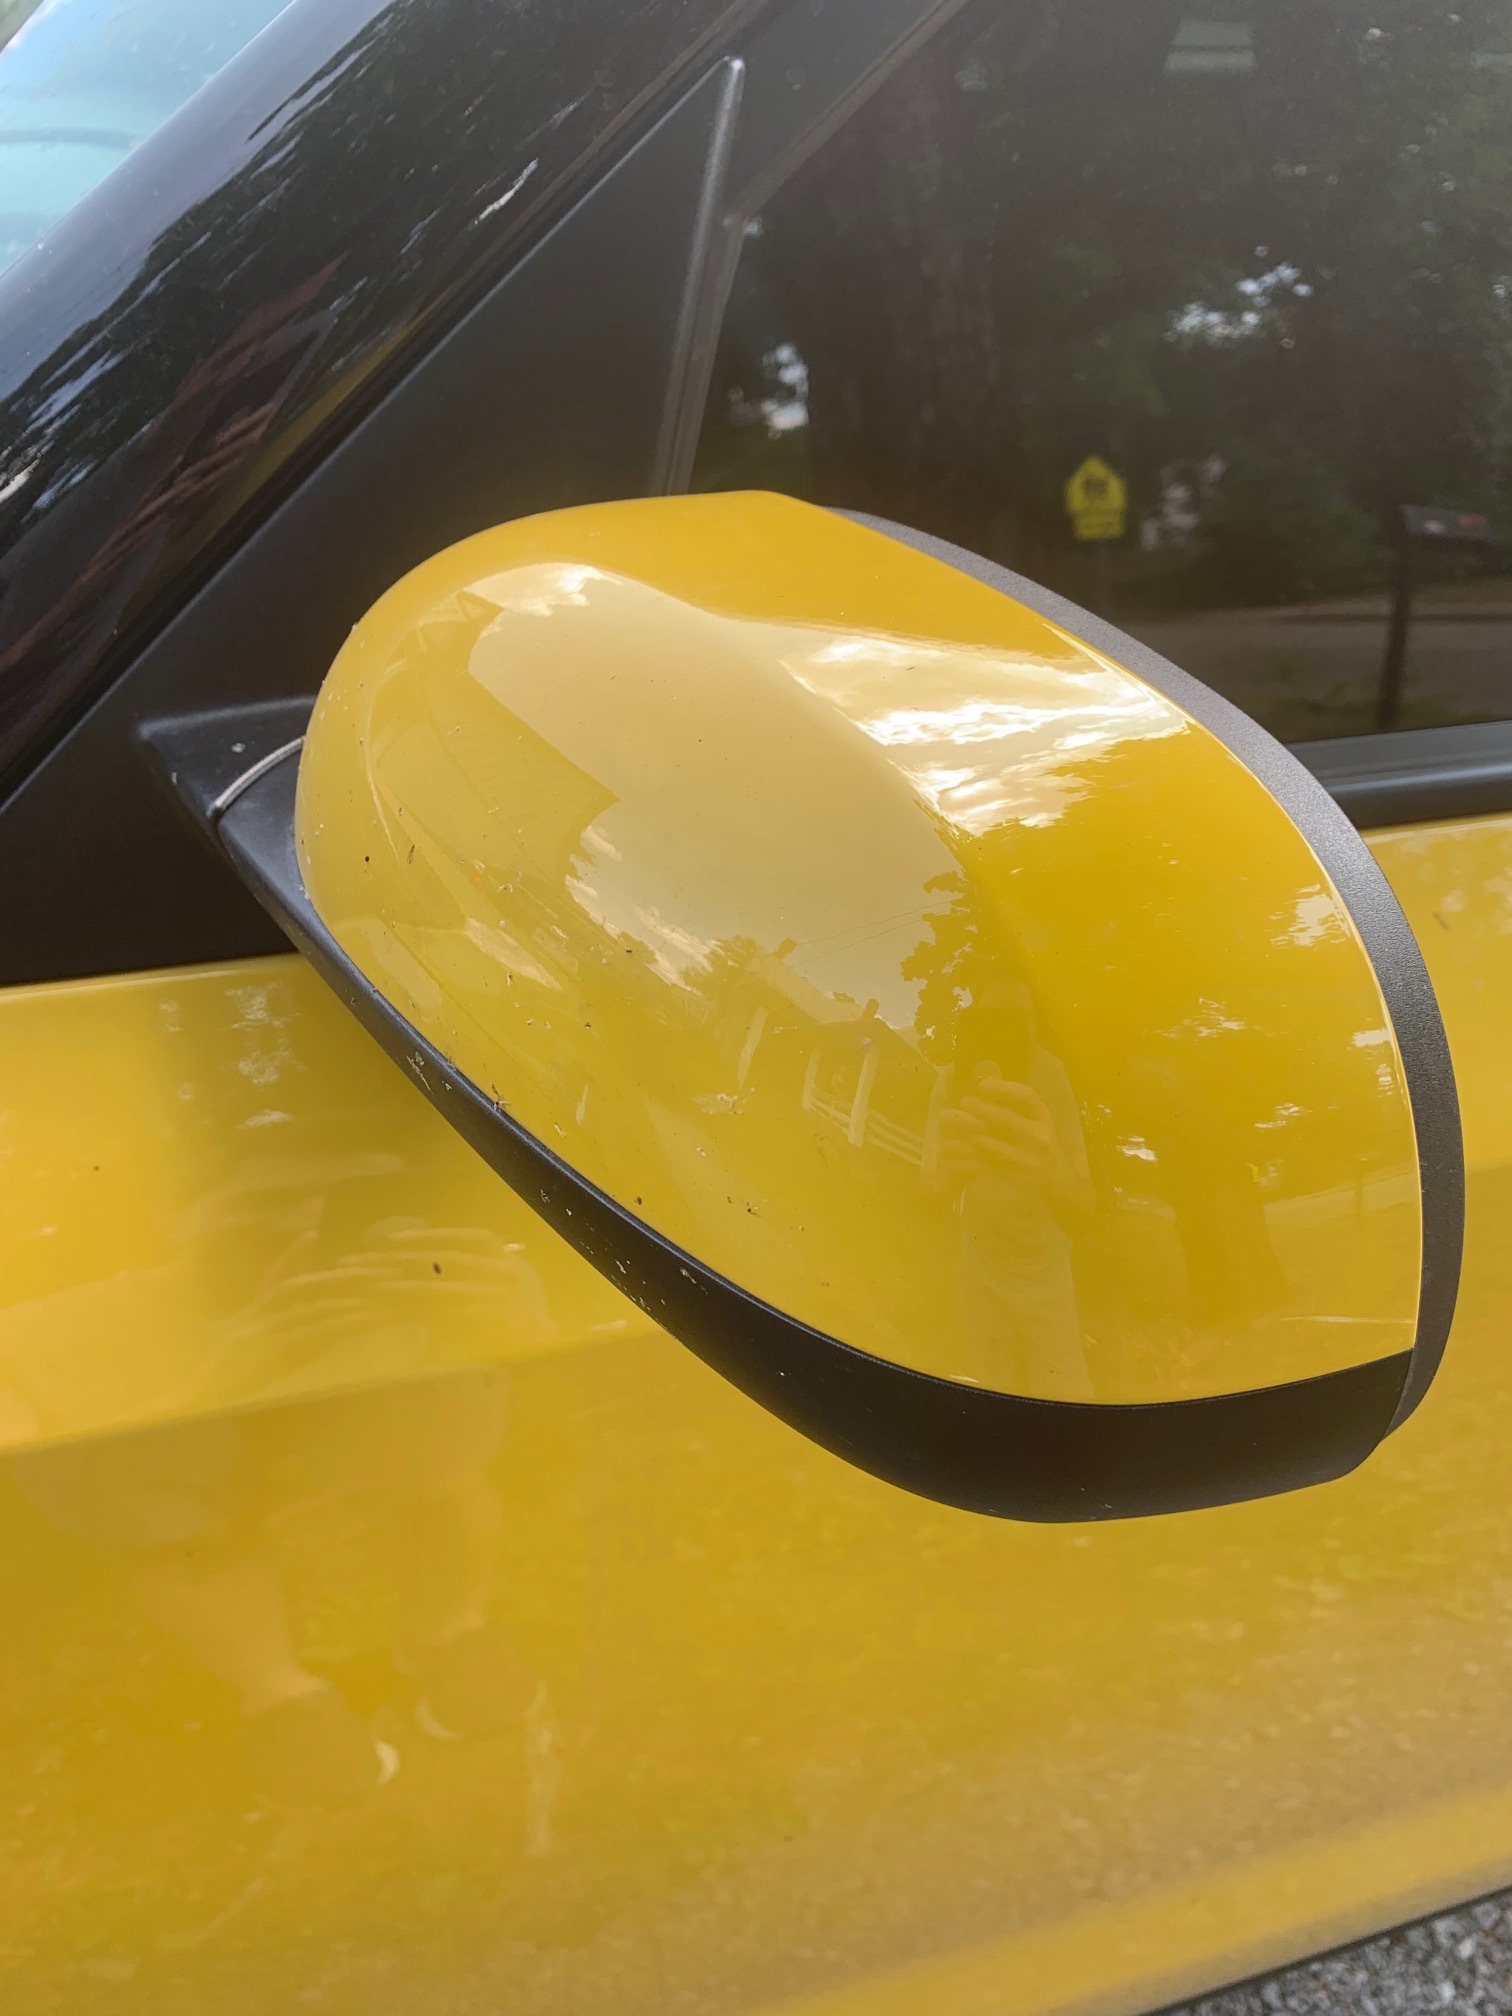
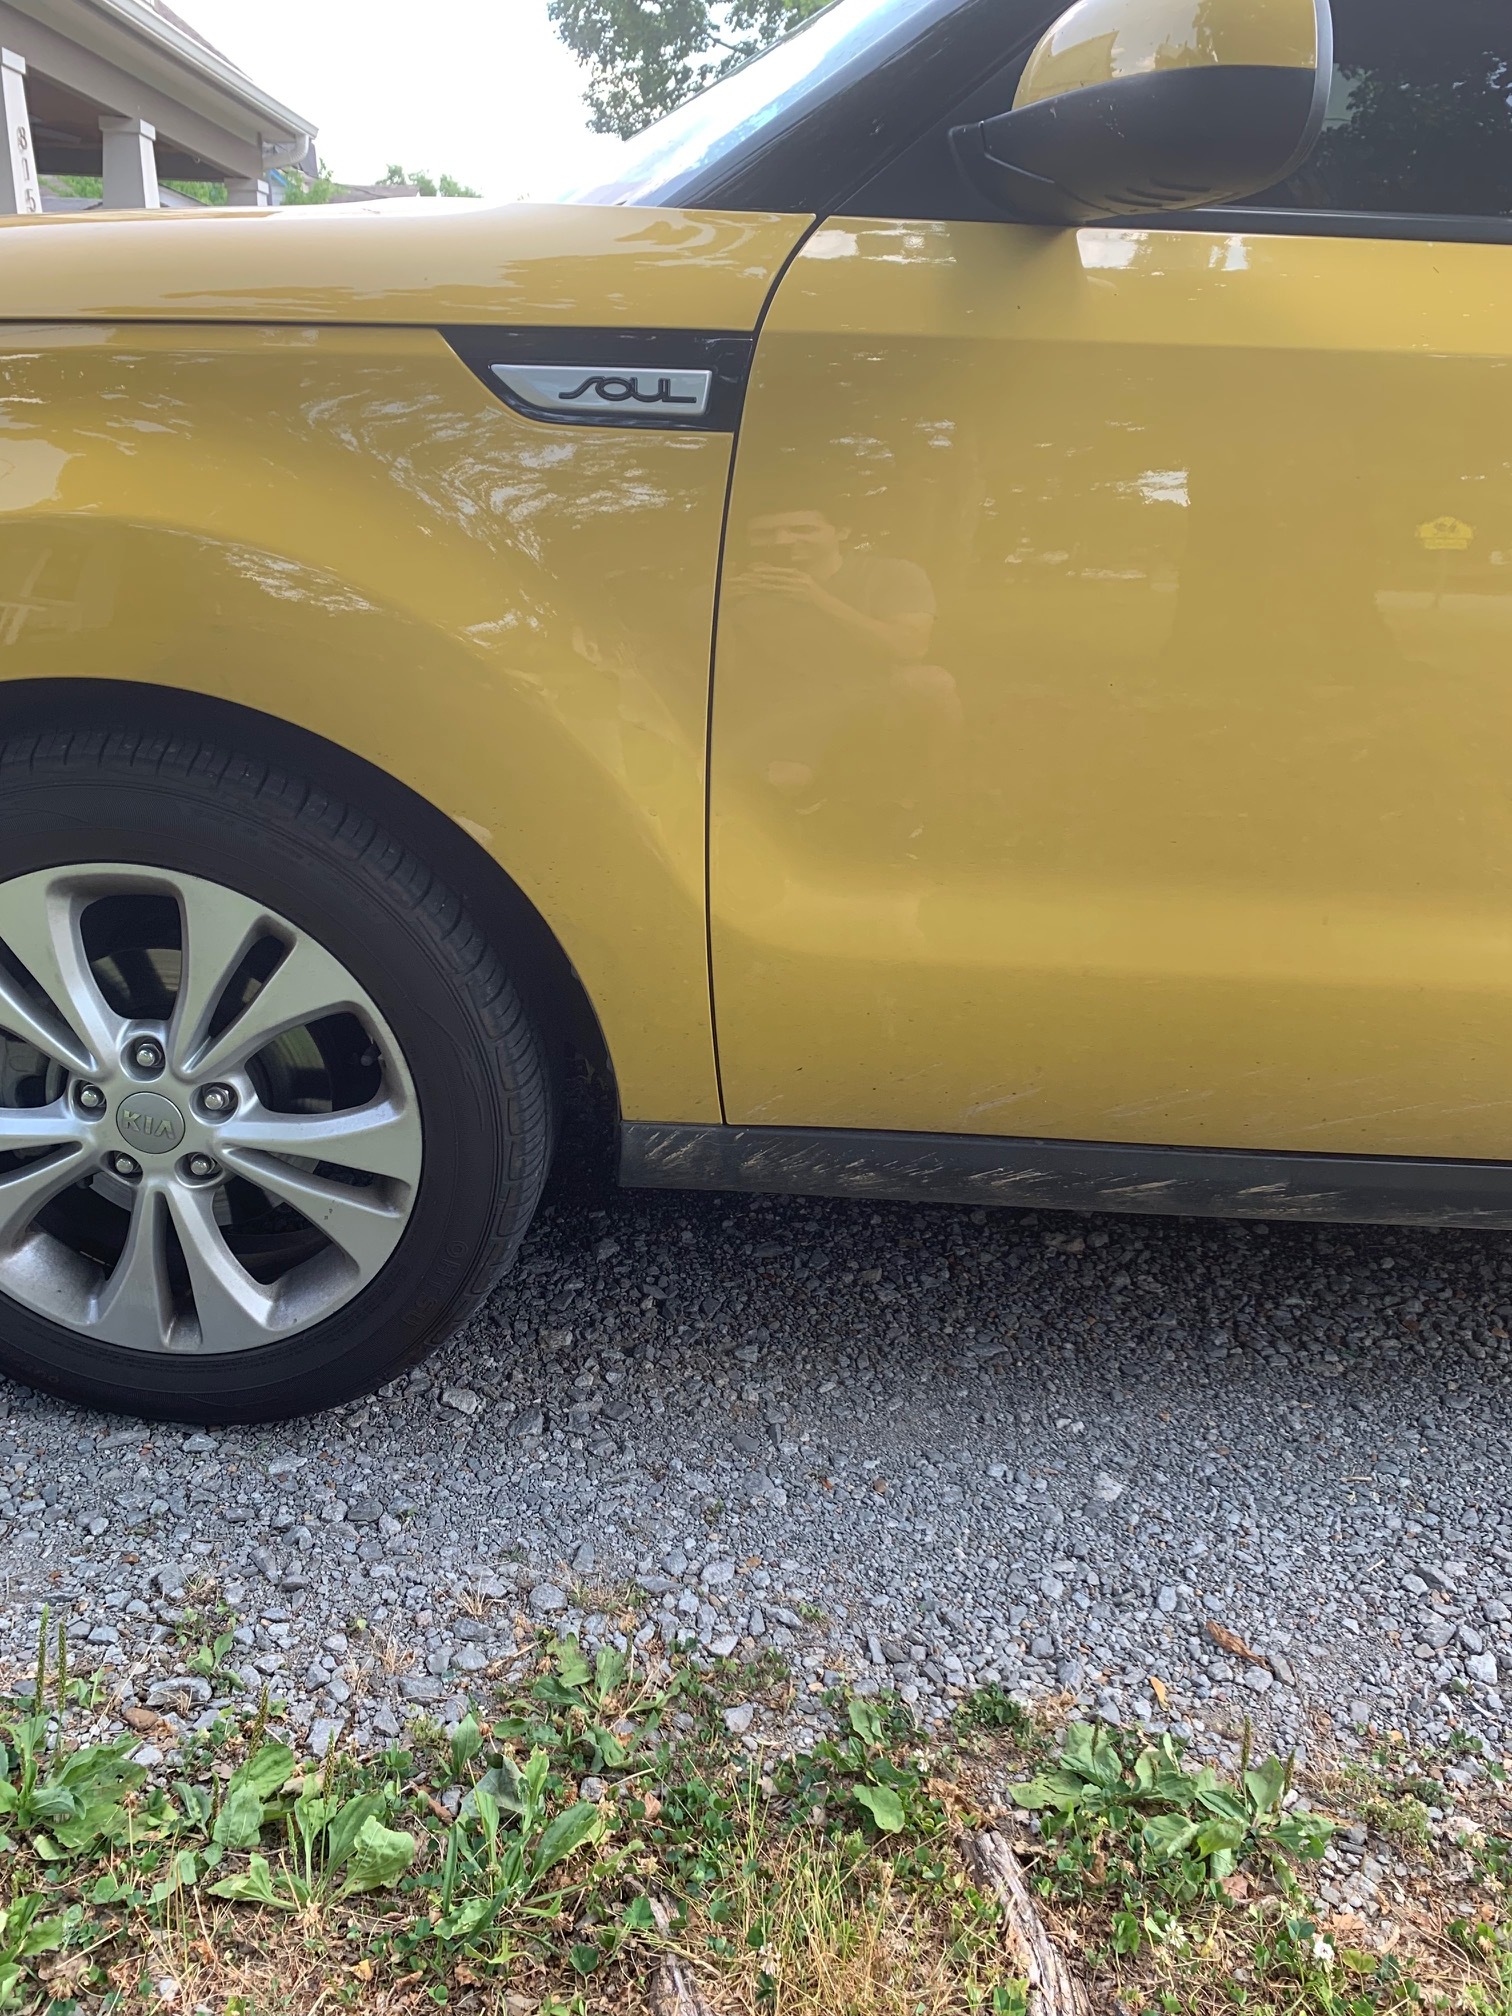
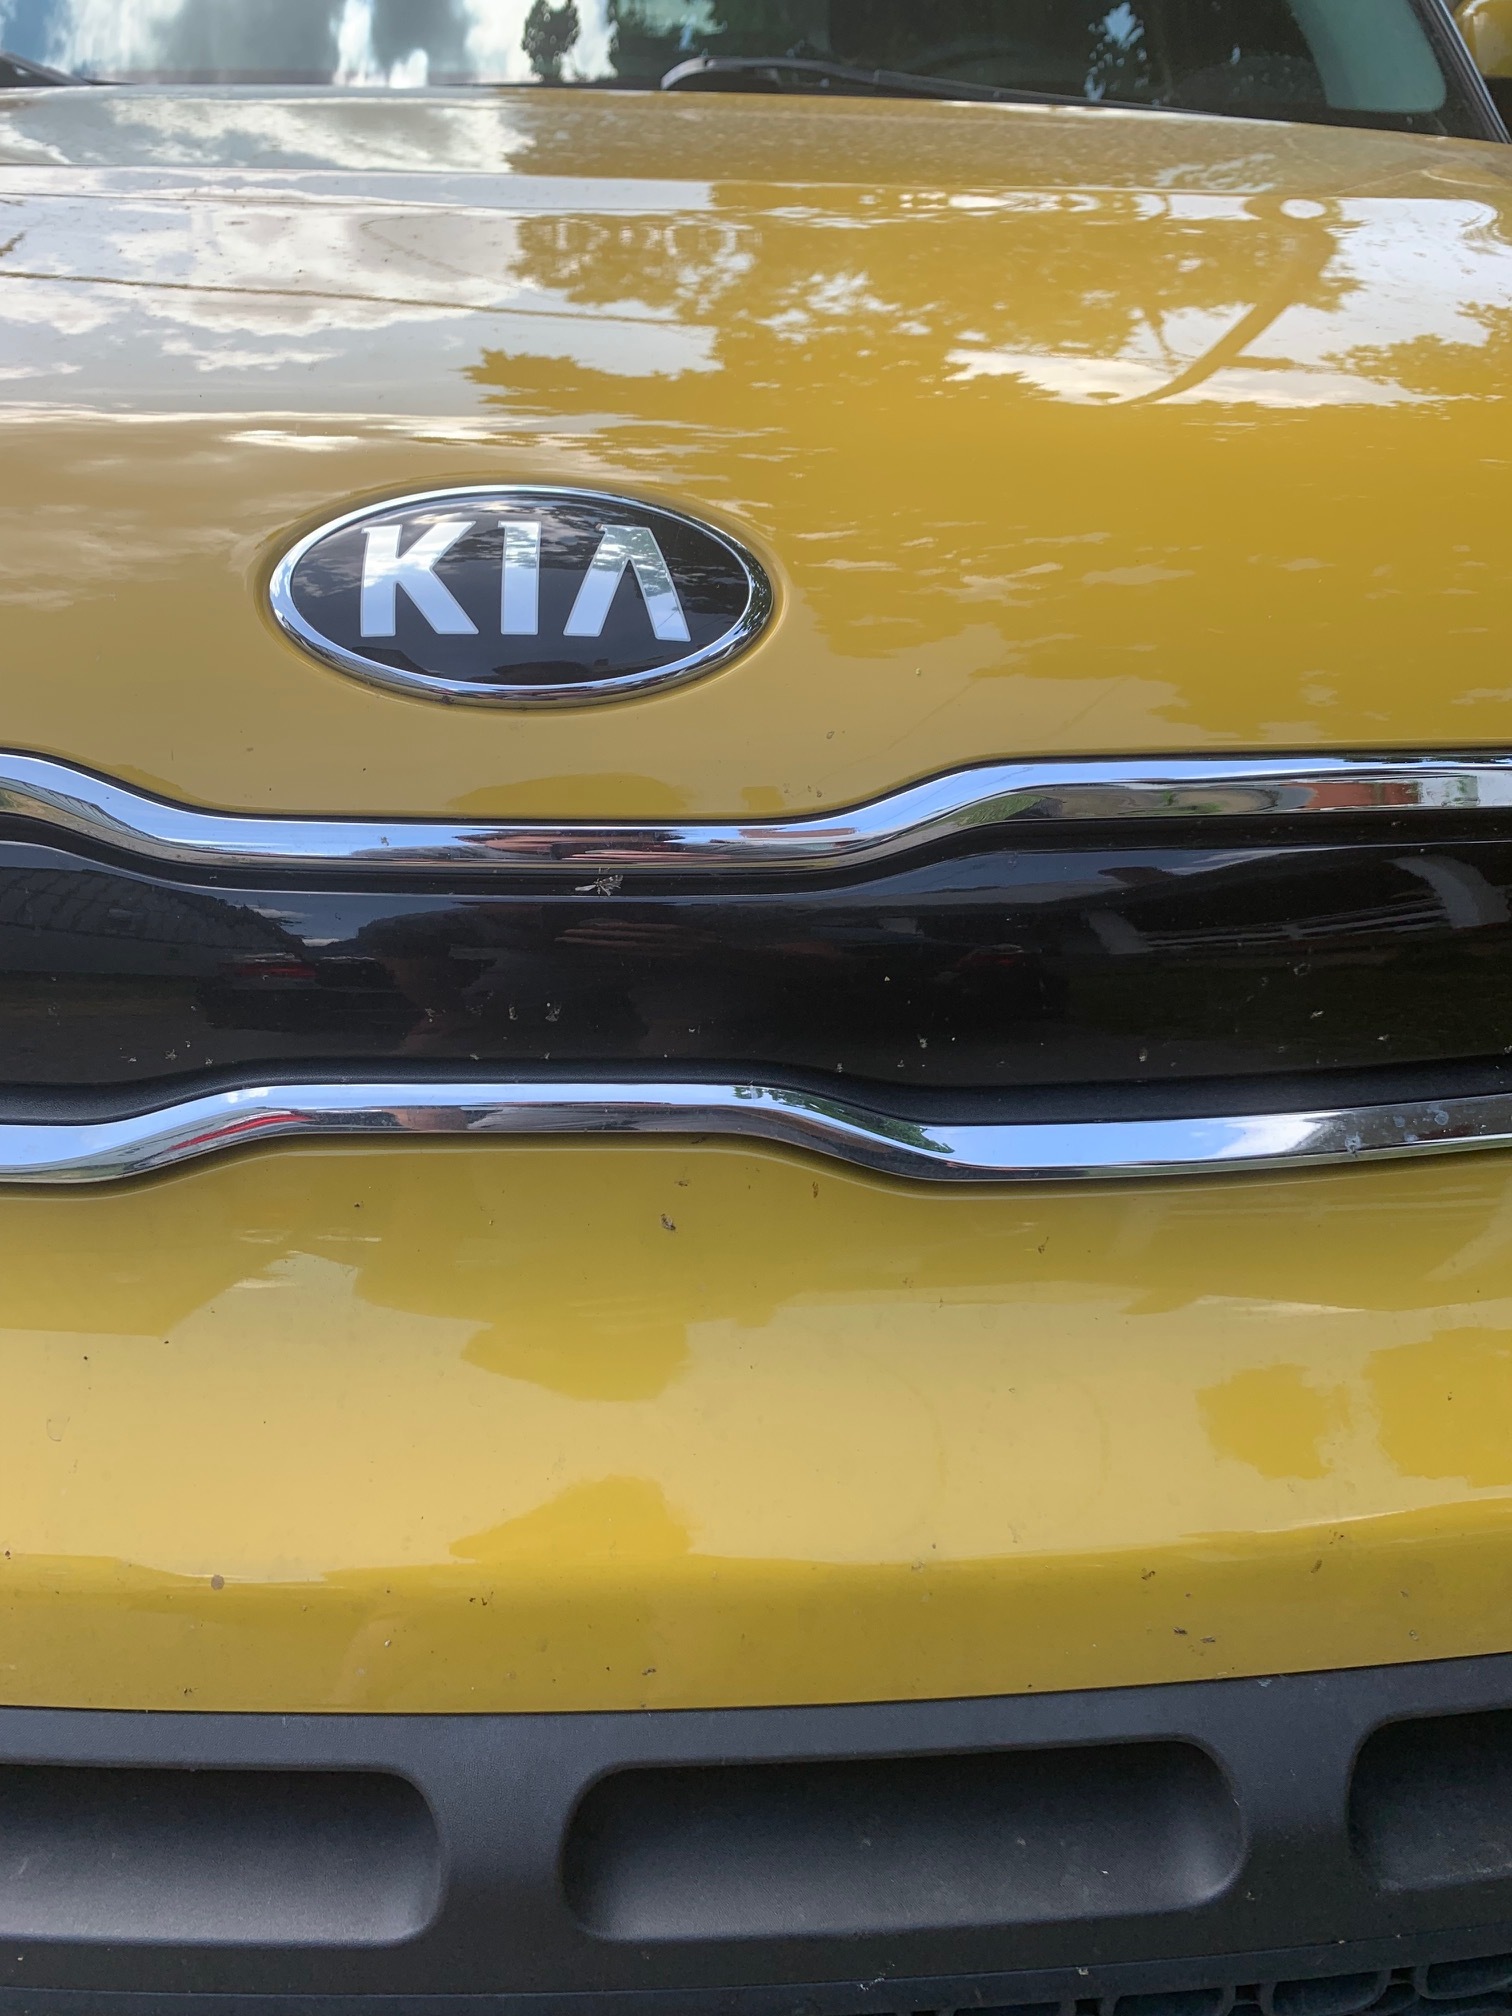
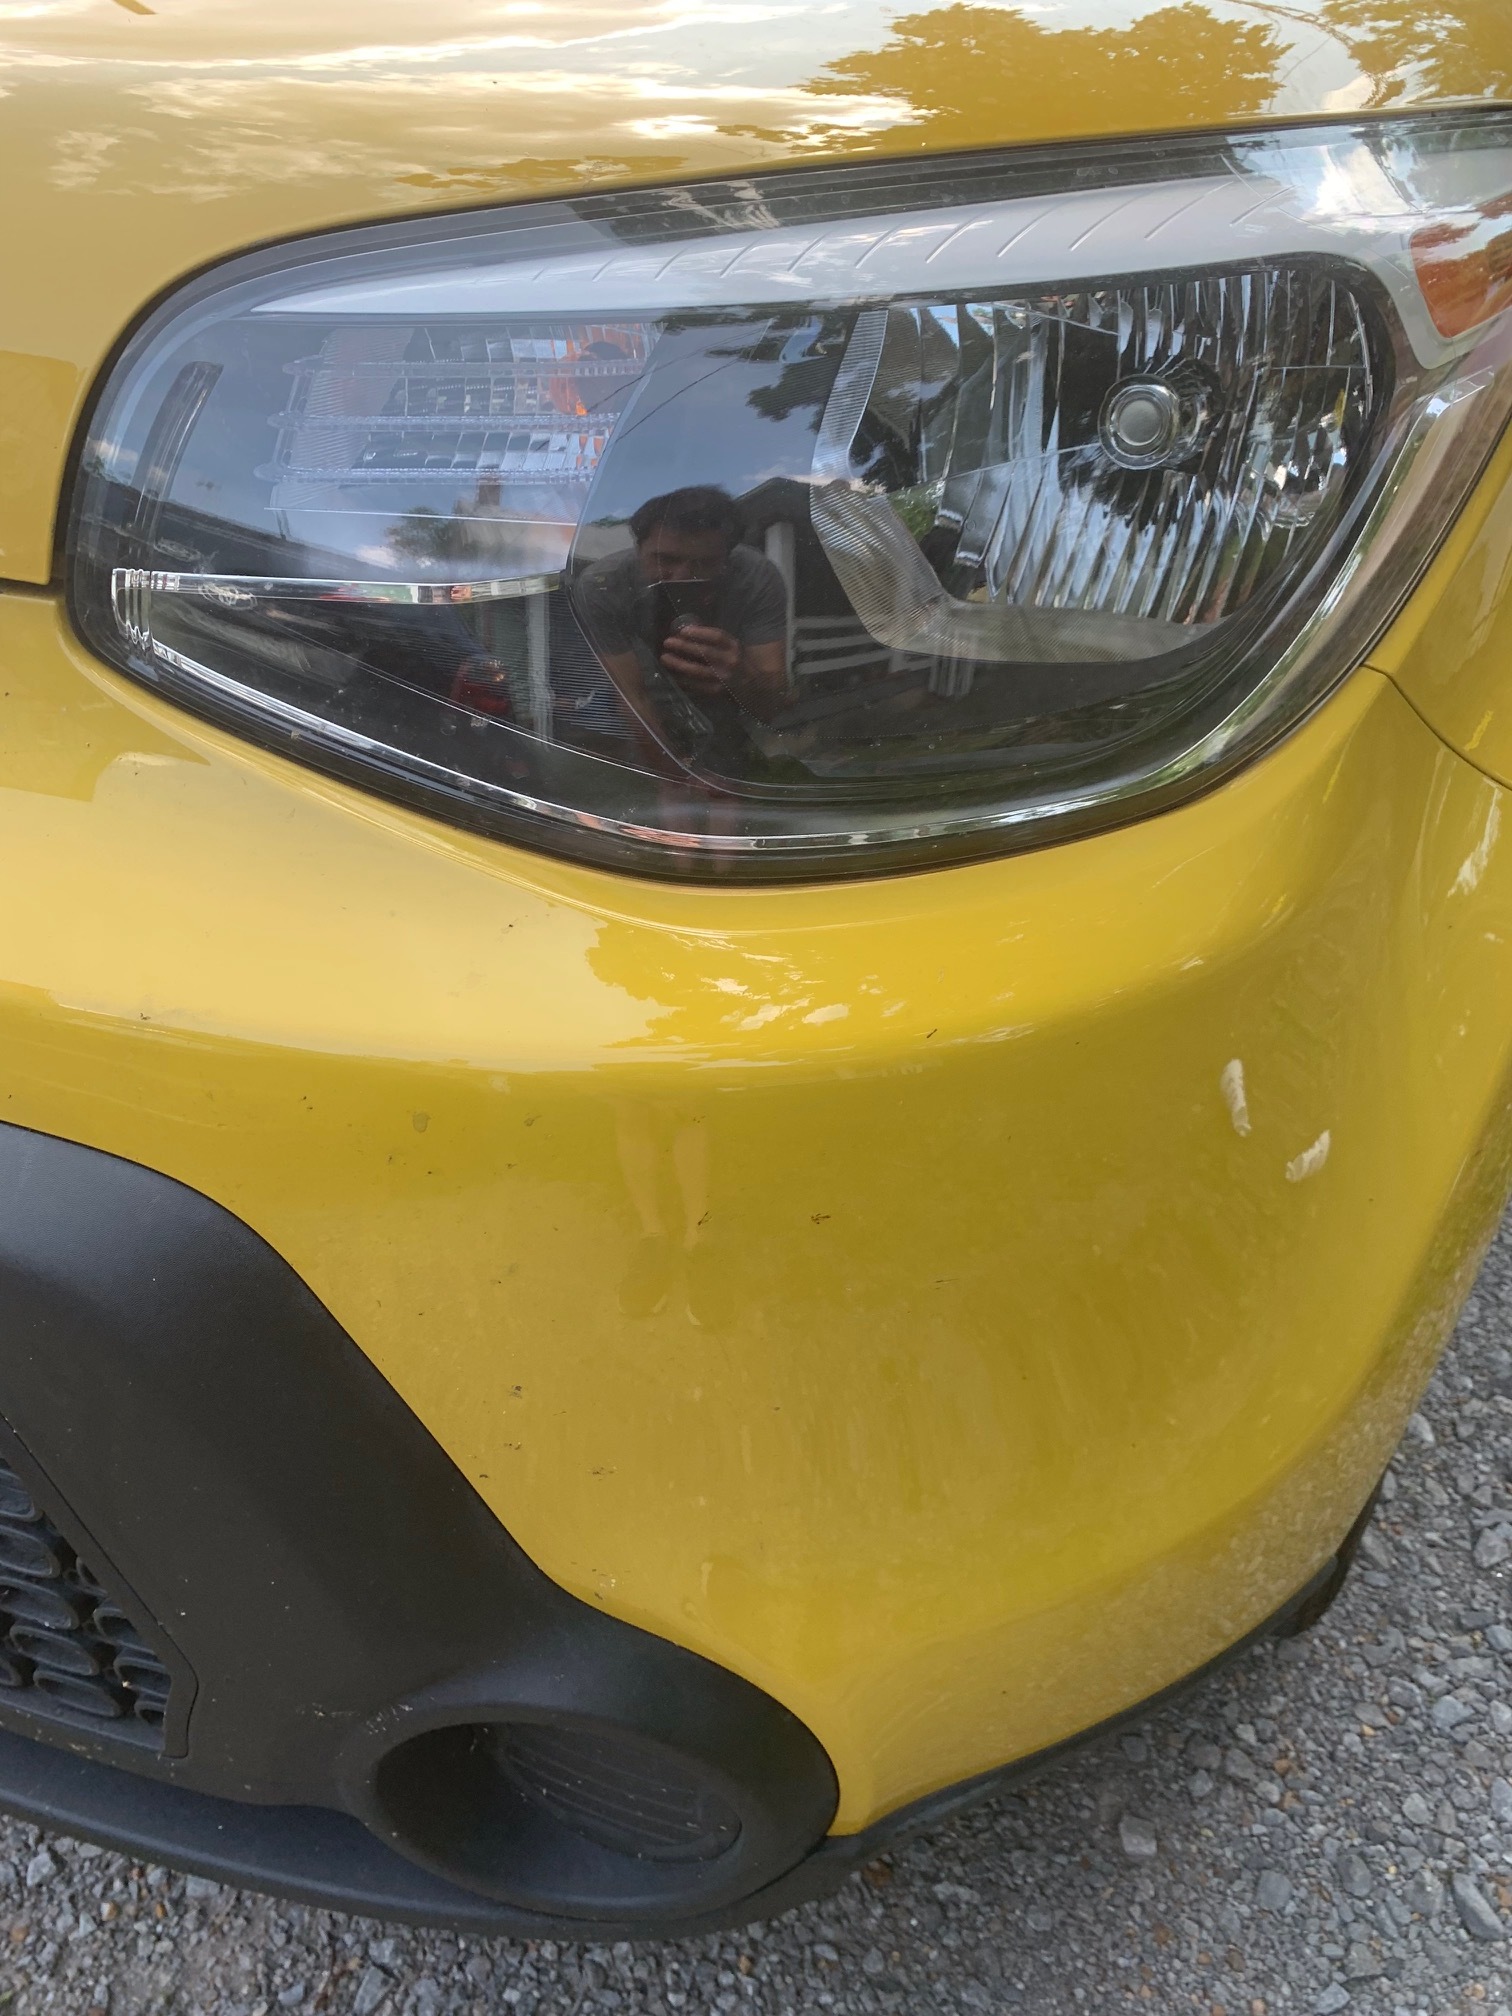
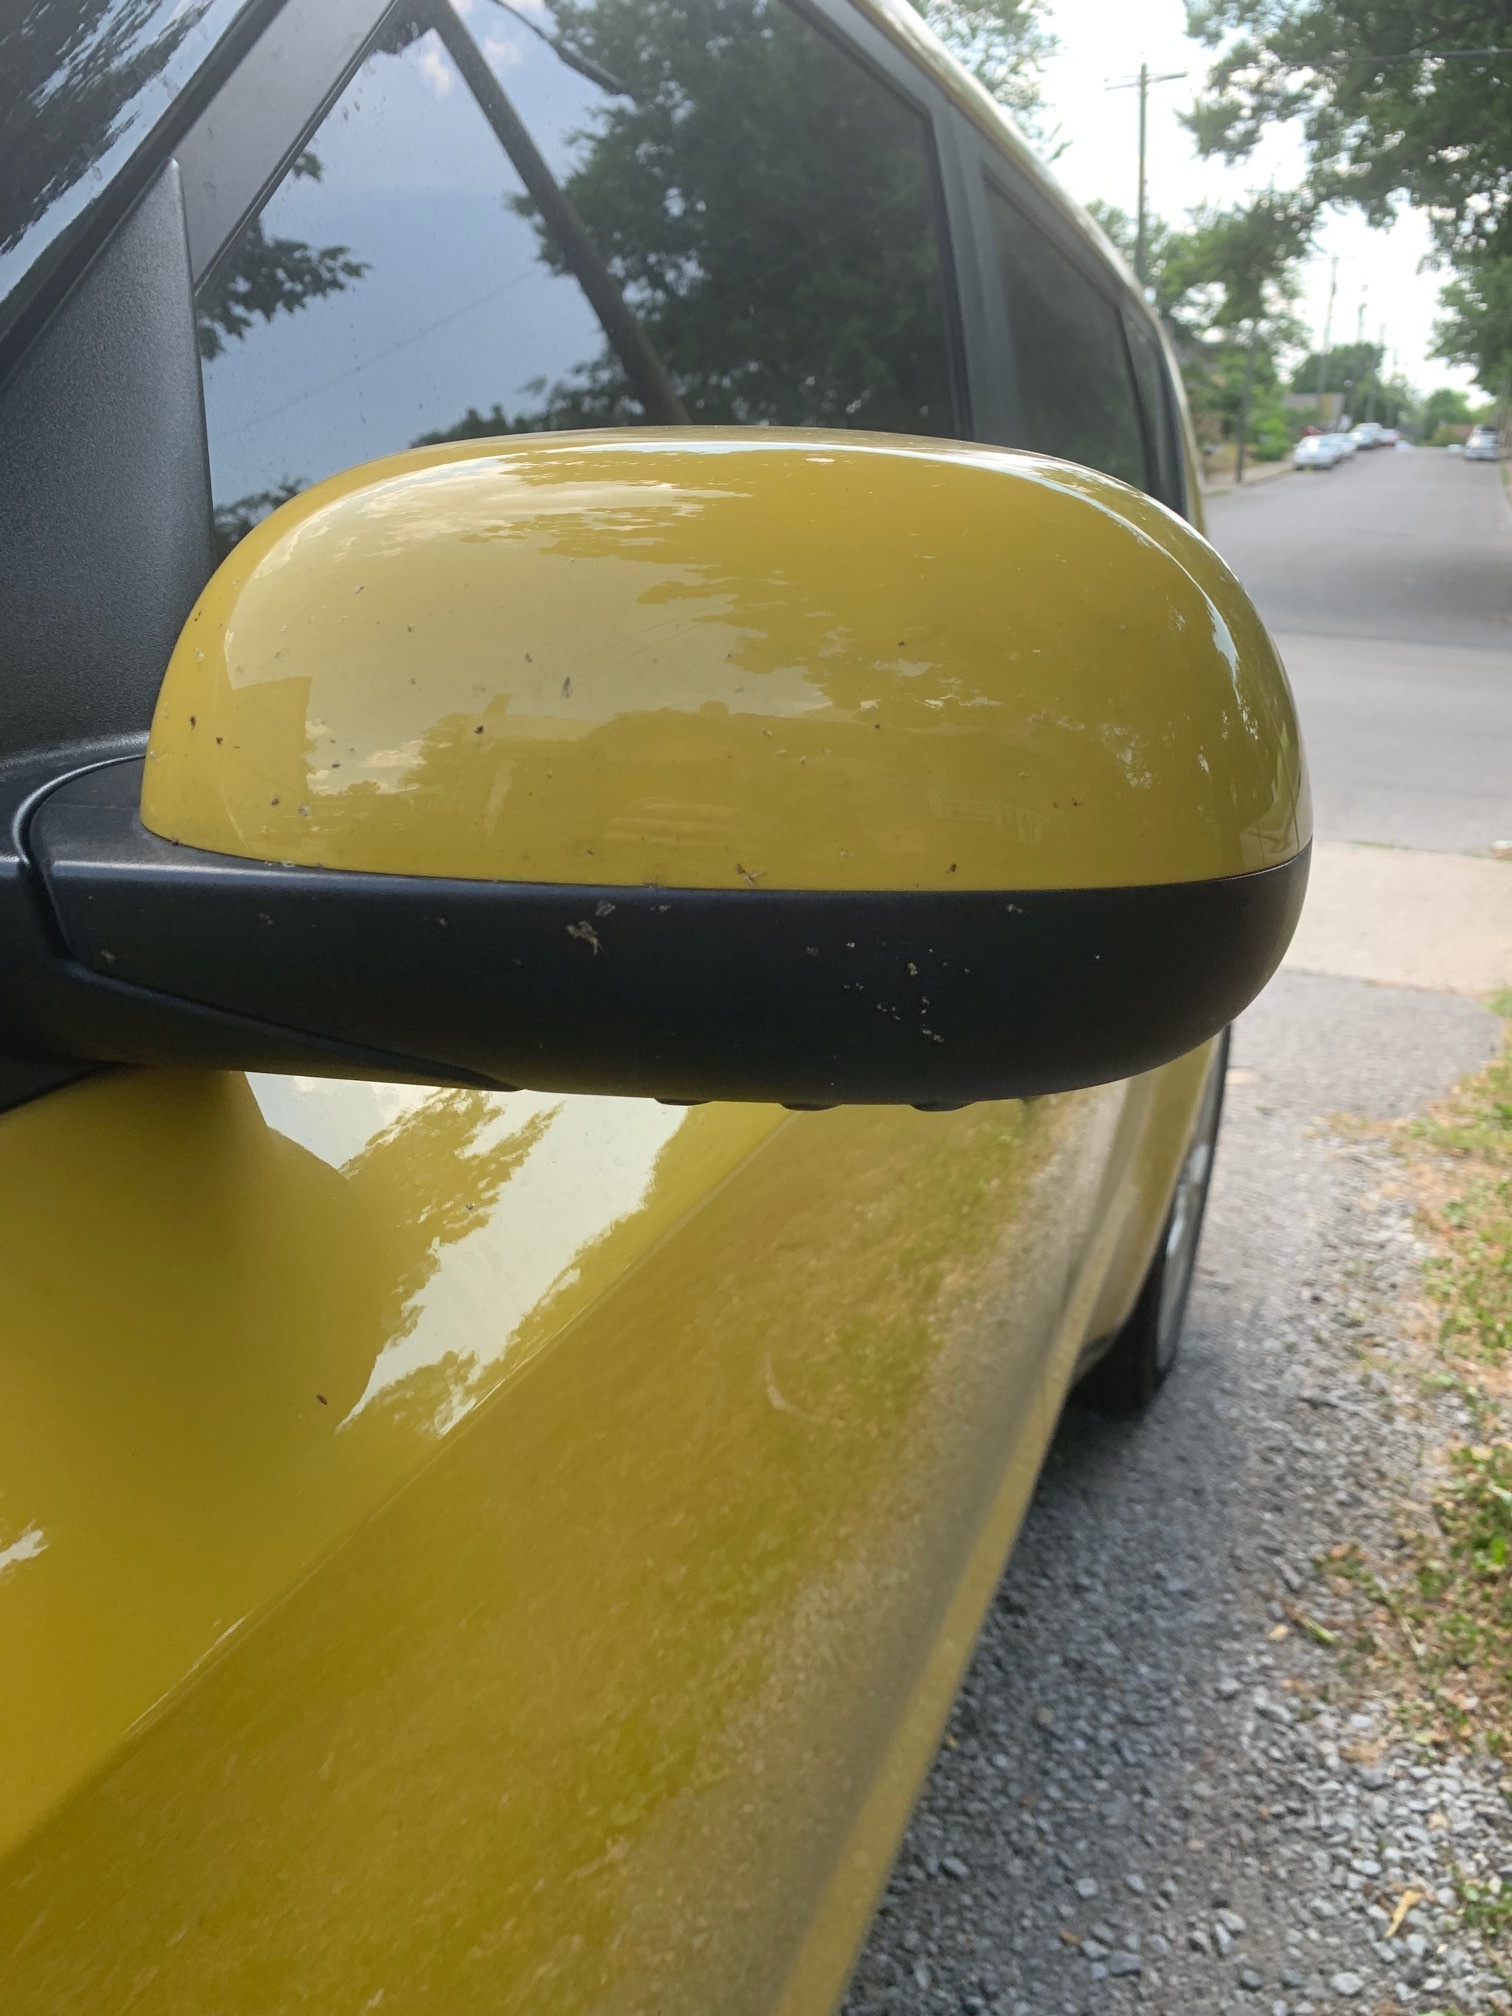
The first step is to assess the level of dirt on the vehicle. In this case, my example is a Solar Yellow Kia Soul. The bright yellow doesn’t show dirt as well as some colors, but this Soul is covered in surface dirt and mud on the lower panels. Bugs are also covering the front and side mirrors.

A pre-rinse will be the next step. By pre-rinsing, I can knock off most of the heavy dirt and minimize the chances of scratching the paint. A solution of Optimum No Rinse will be used to help emulsify and encapsulate any leftover dirt.

After I’ve safely pre-rinsed the vehicle, I can move on to the physical agitation, or washing process. Again I will use a standard dilution of Optimum No Rinse to safely agitate the leftover surface dirt. Unlike a traditional soap, the Optimum No Rinse encapsulates the dirt and forms a molecular cushion between the dirt and paint. To break down stubborn dirt and bugs however a foaming solution of an alkaline cleaner can be used.

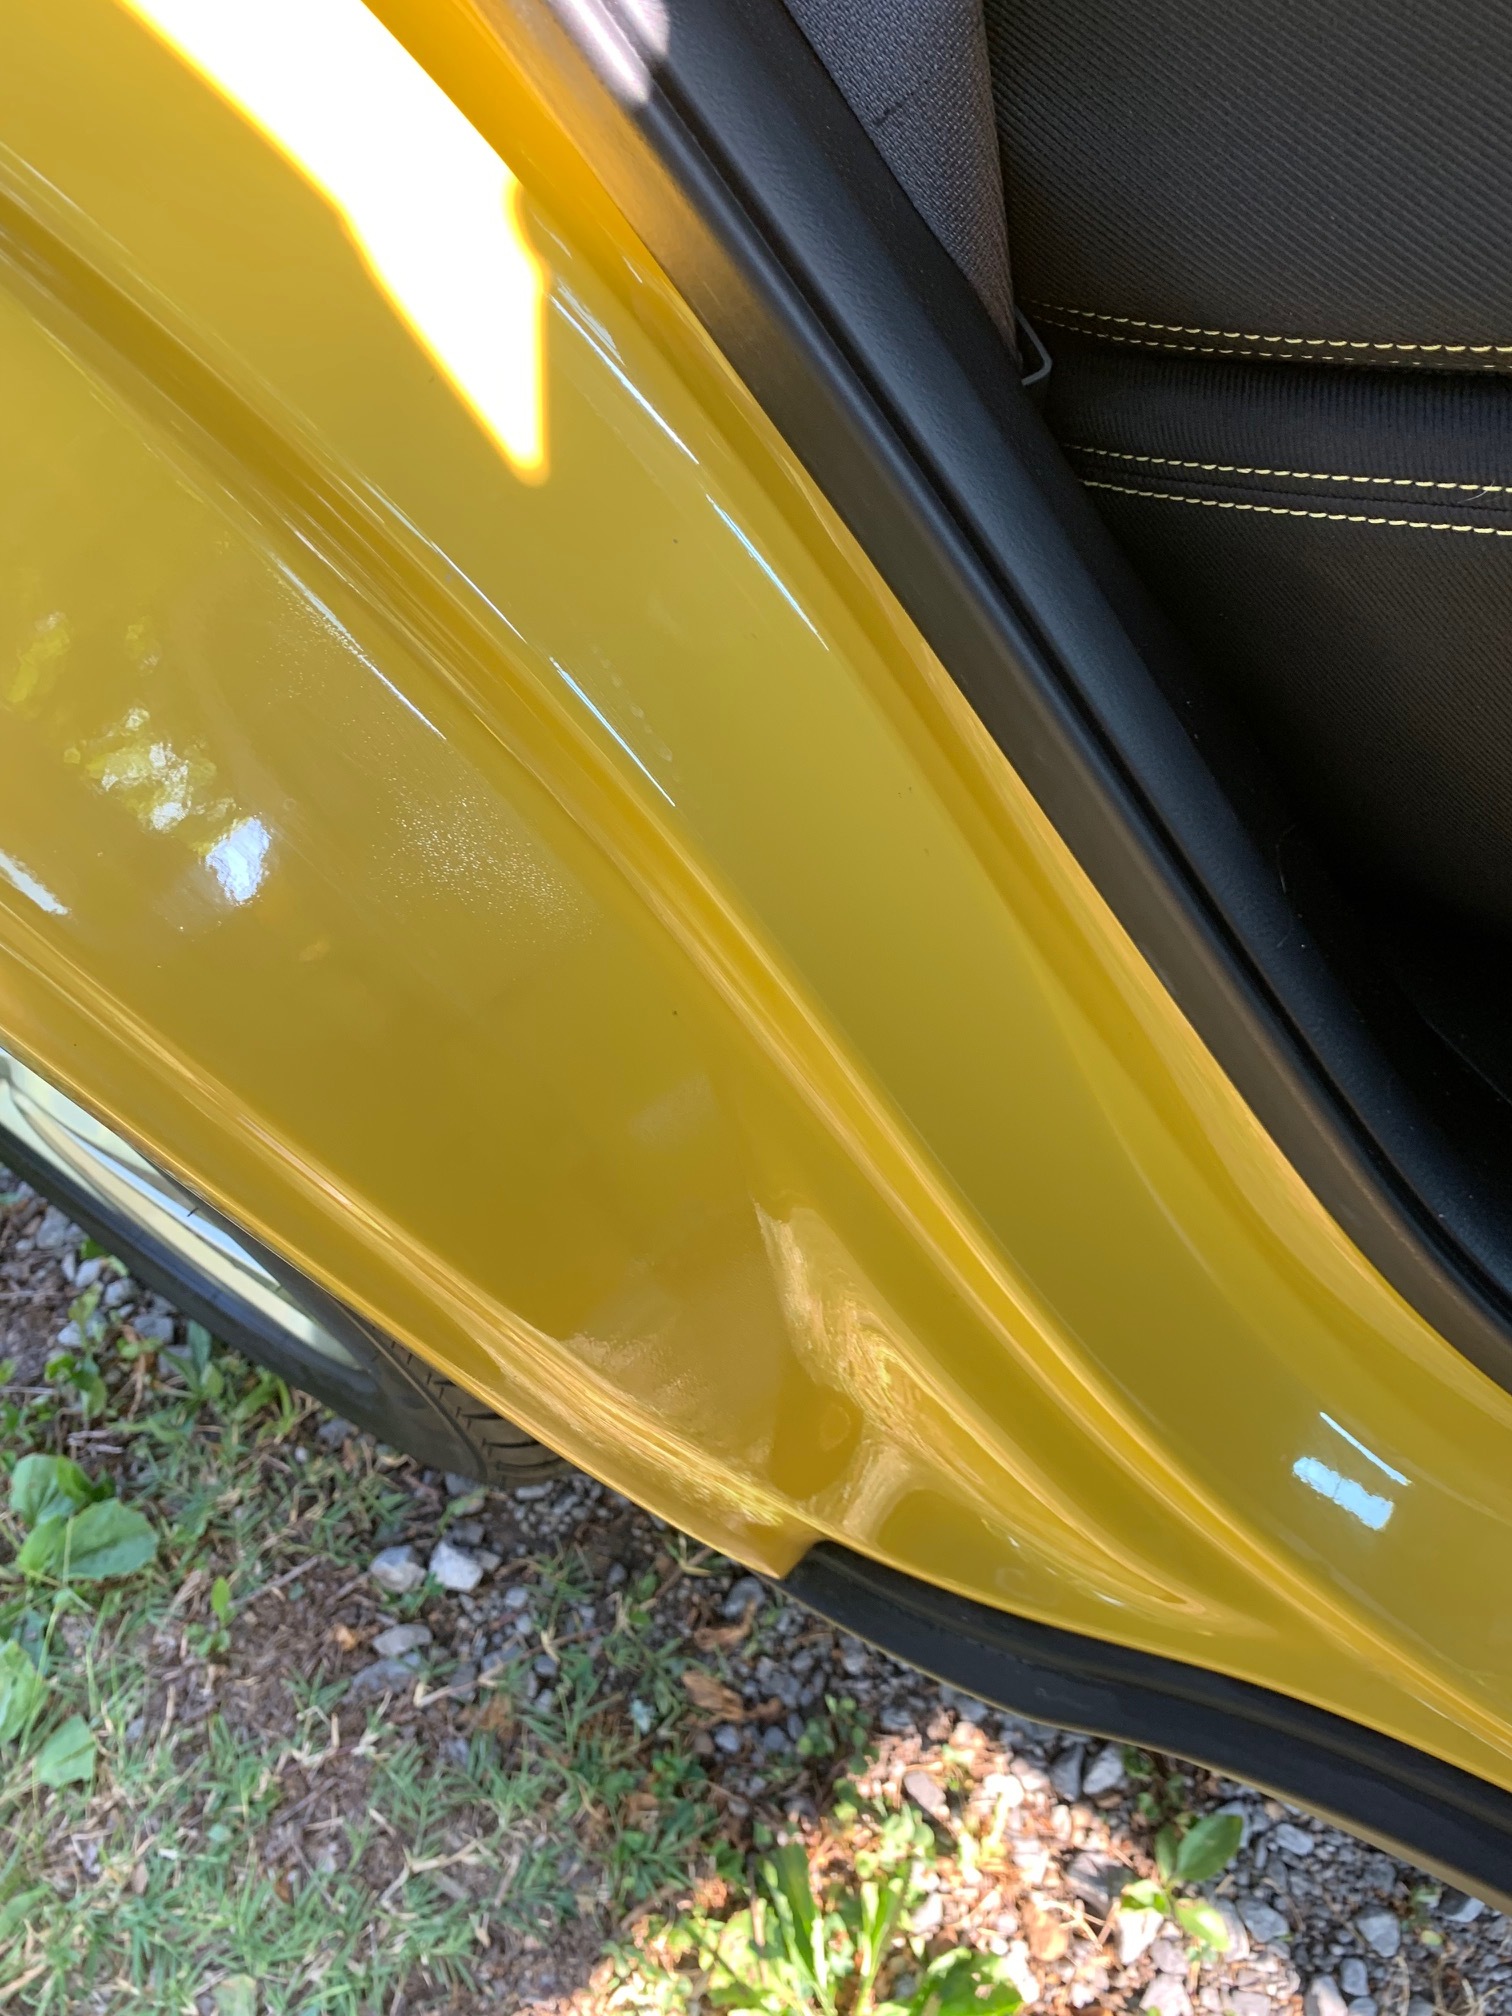
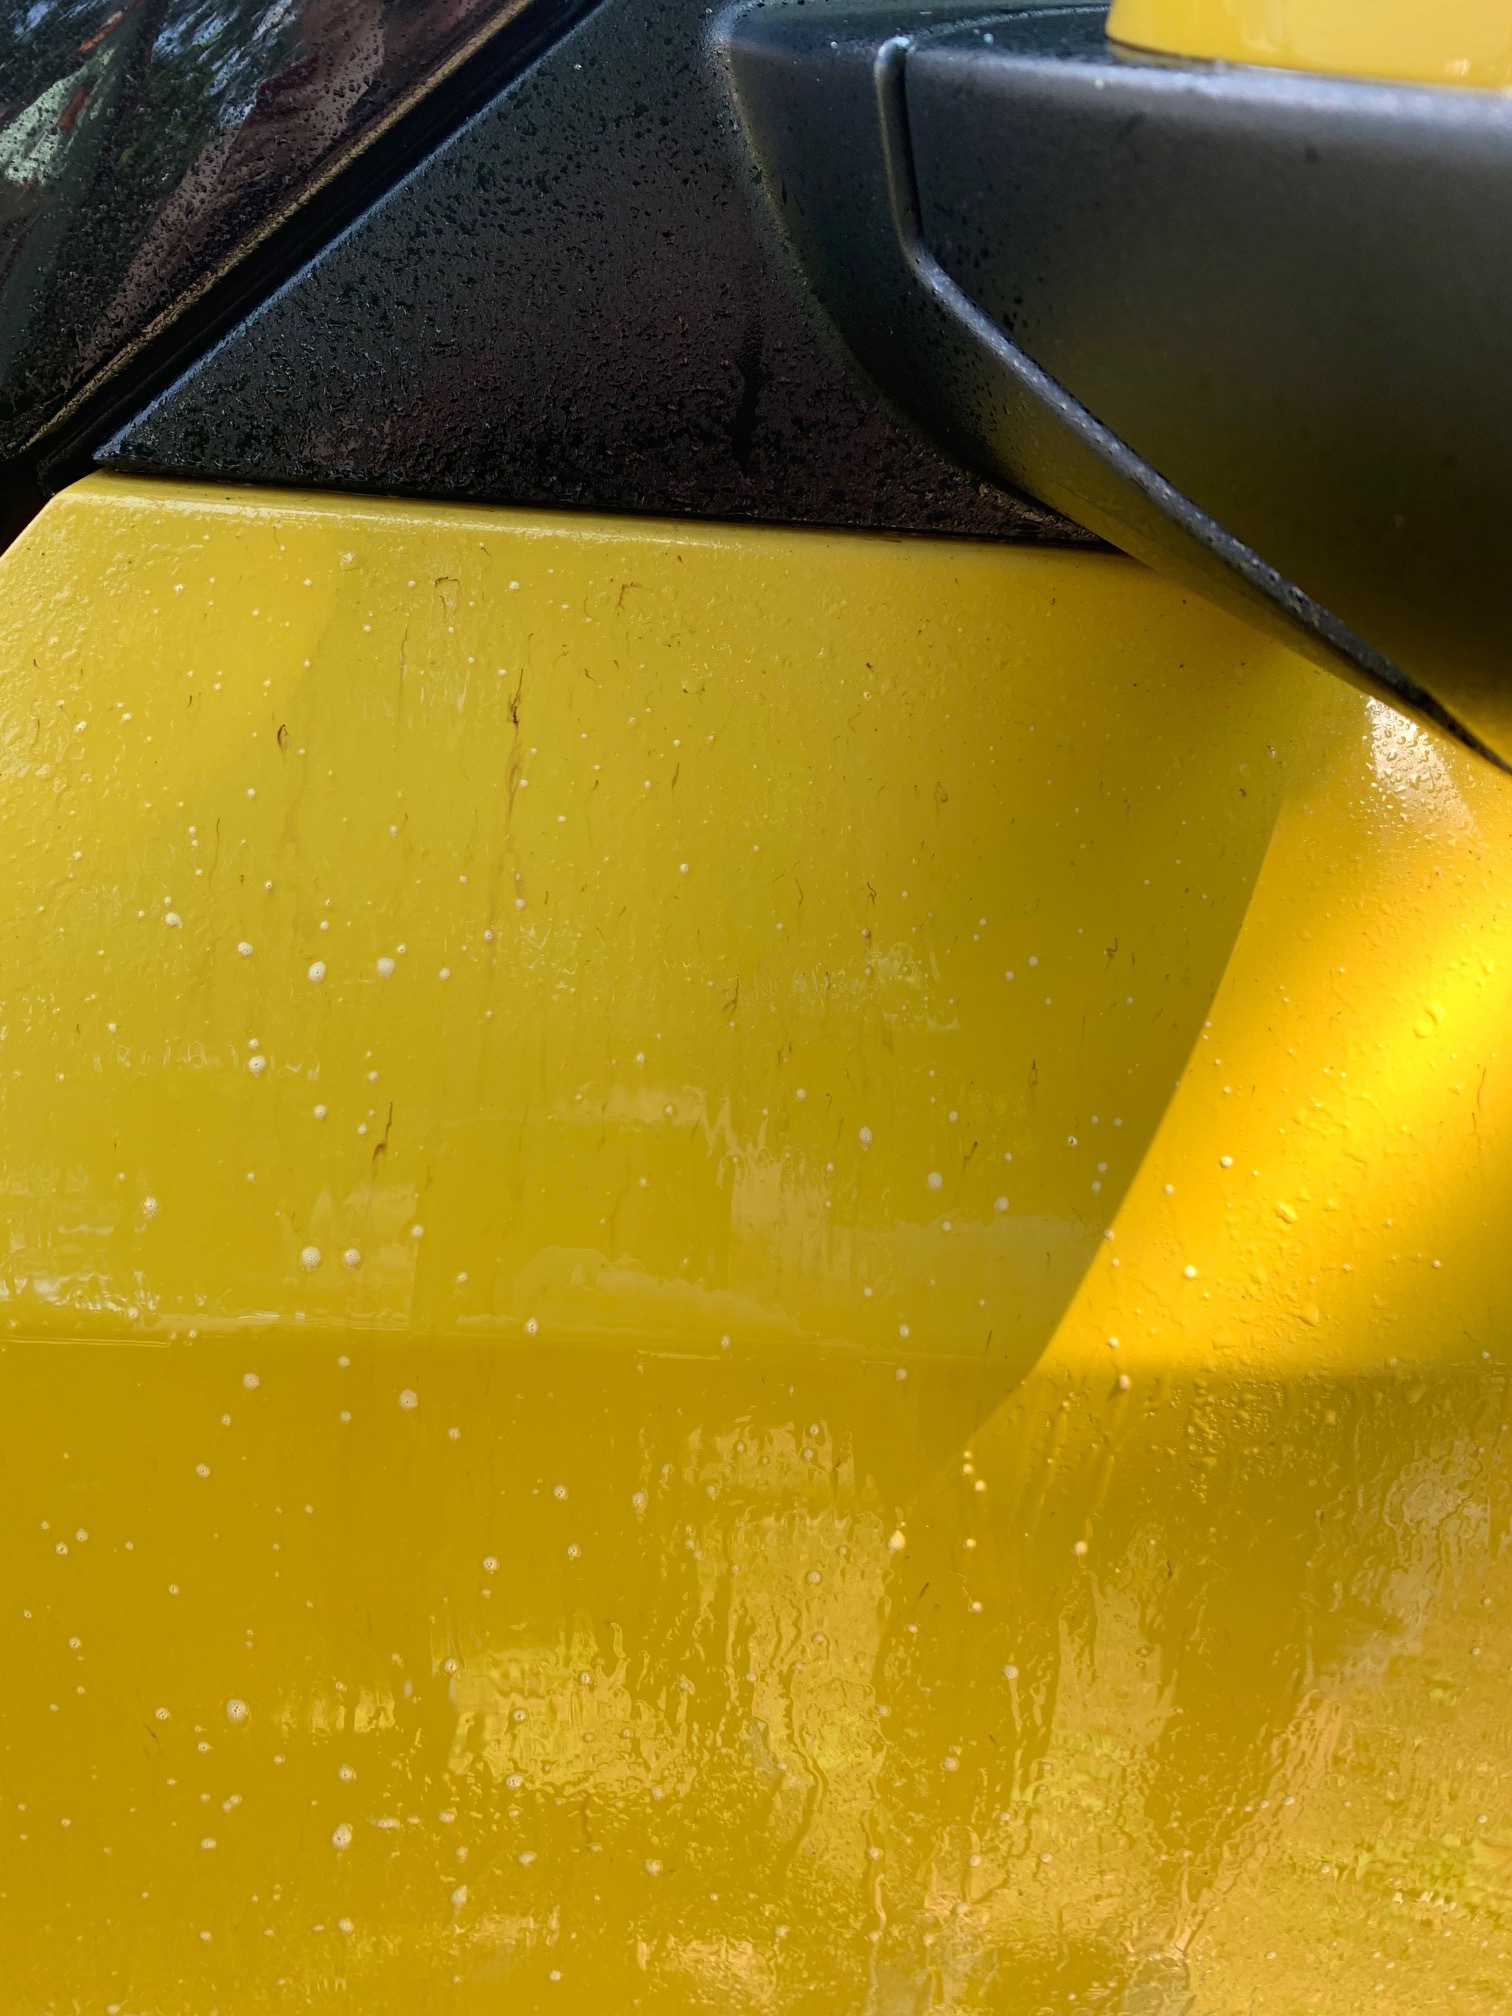
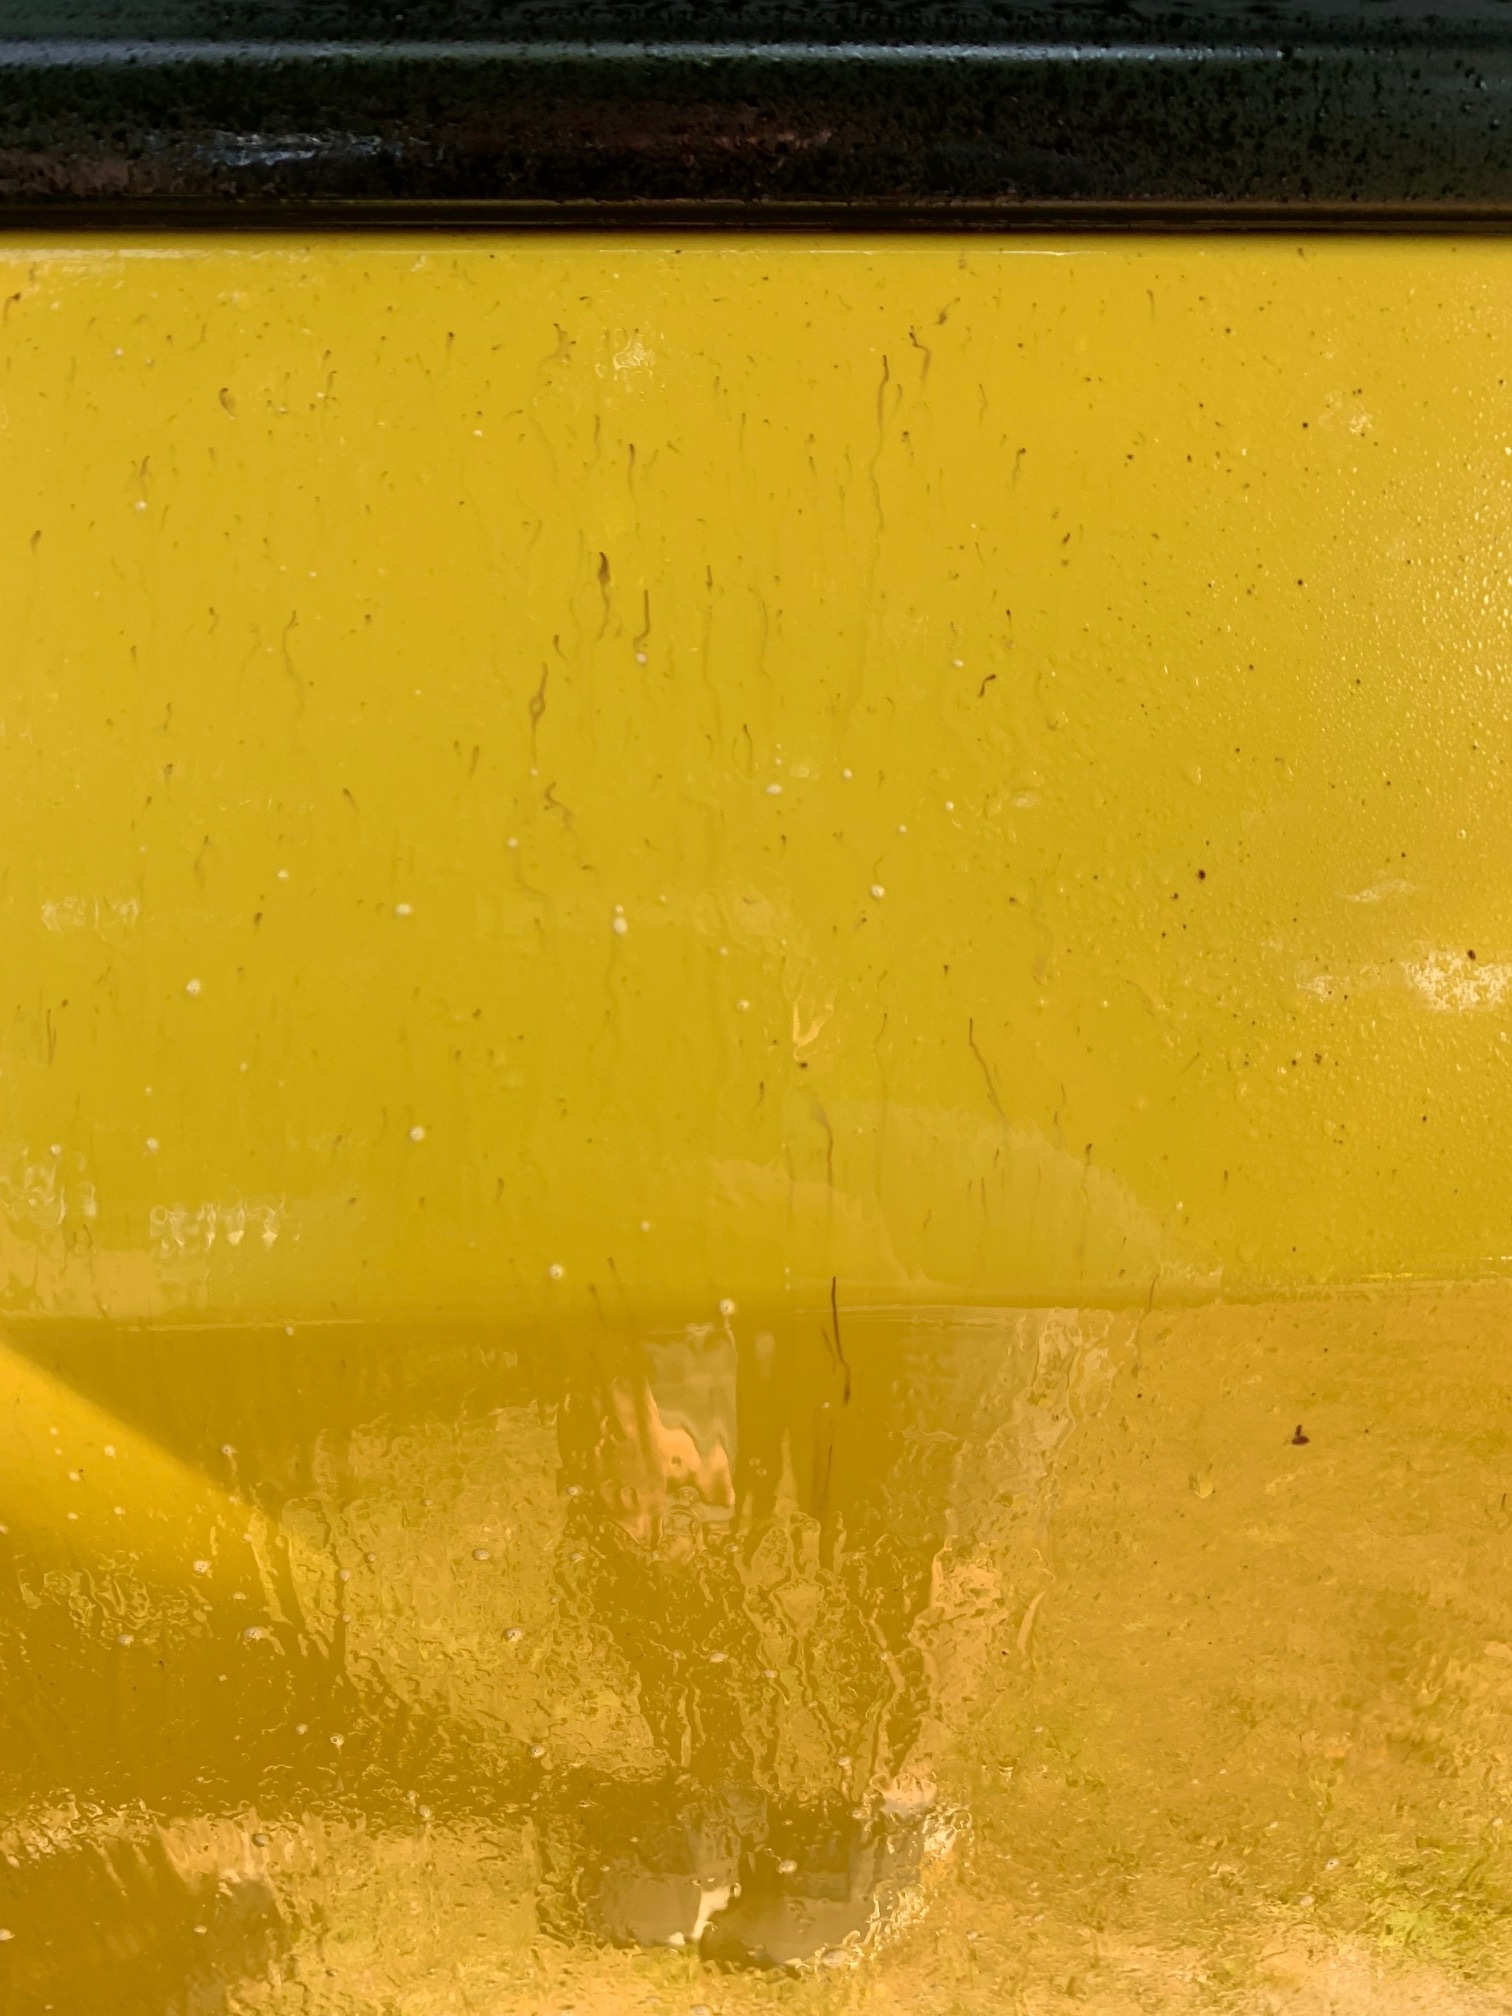
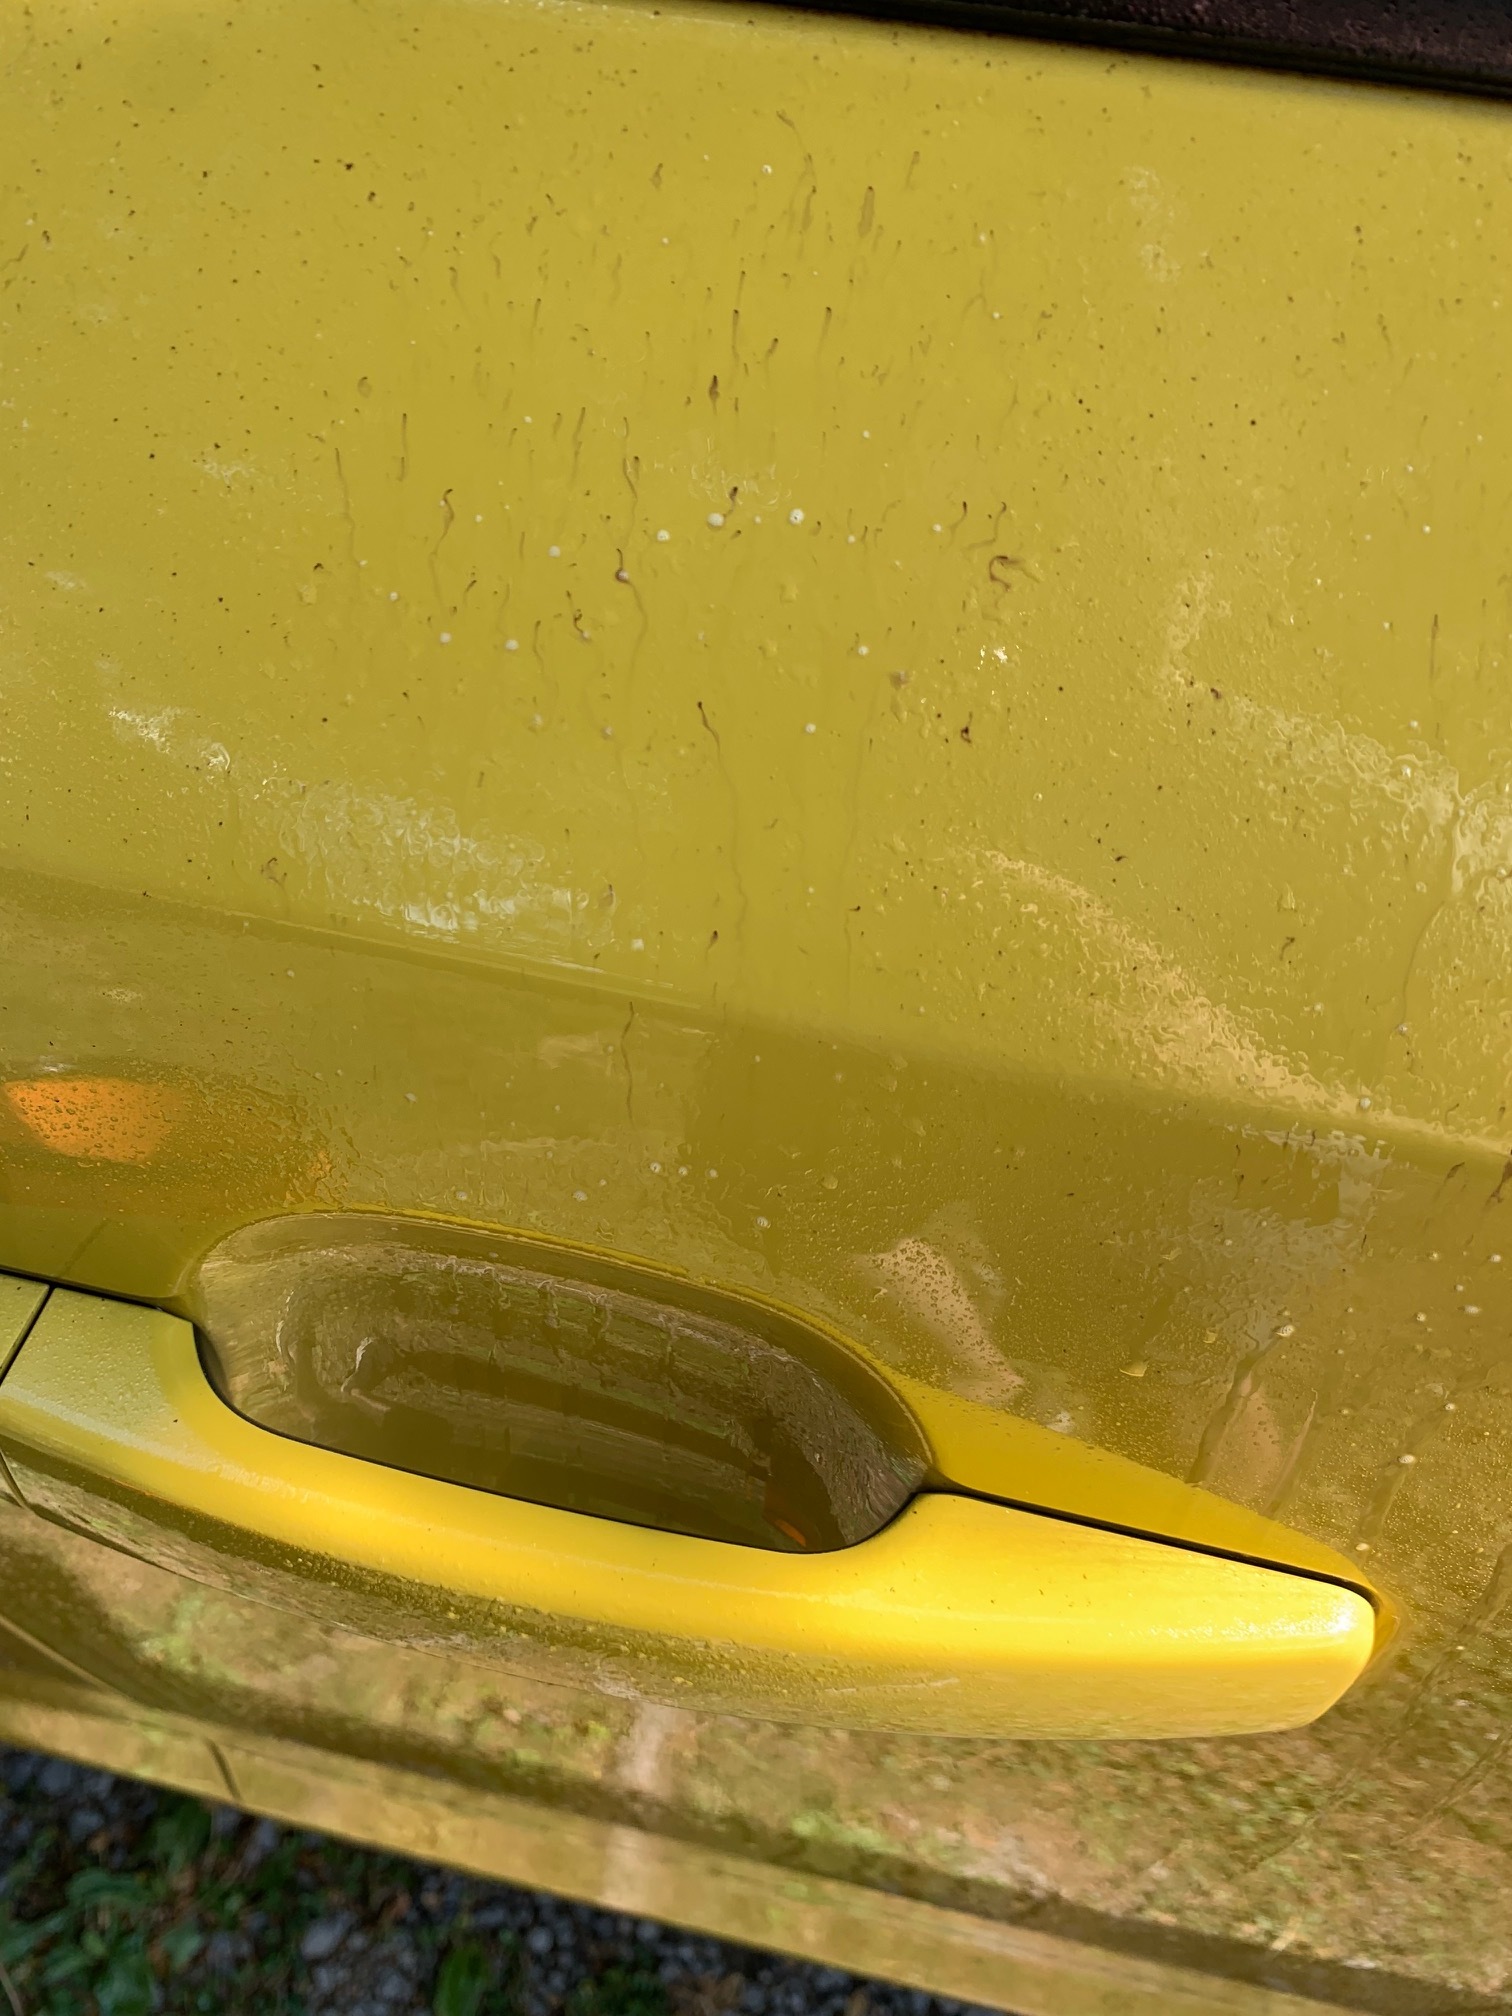
Now that all the surface dirt and bugs are off, I need to remove the embedded contaminants for truly clean paint. The first step here will be to chemically remove any embedded fallout and iron particles in the paint. This cannot be done by a simple wash and needs to be done by using a fallout remover which reacts with any metals and makes them water soluble. It’s not a wonderful smelling procut by any means, but it works amazingly well. All of the dark purple spots that look like they’re bleeding is contamination being dissolved.

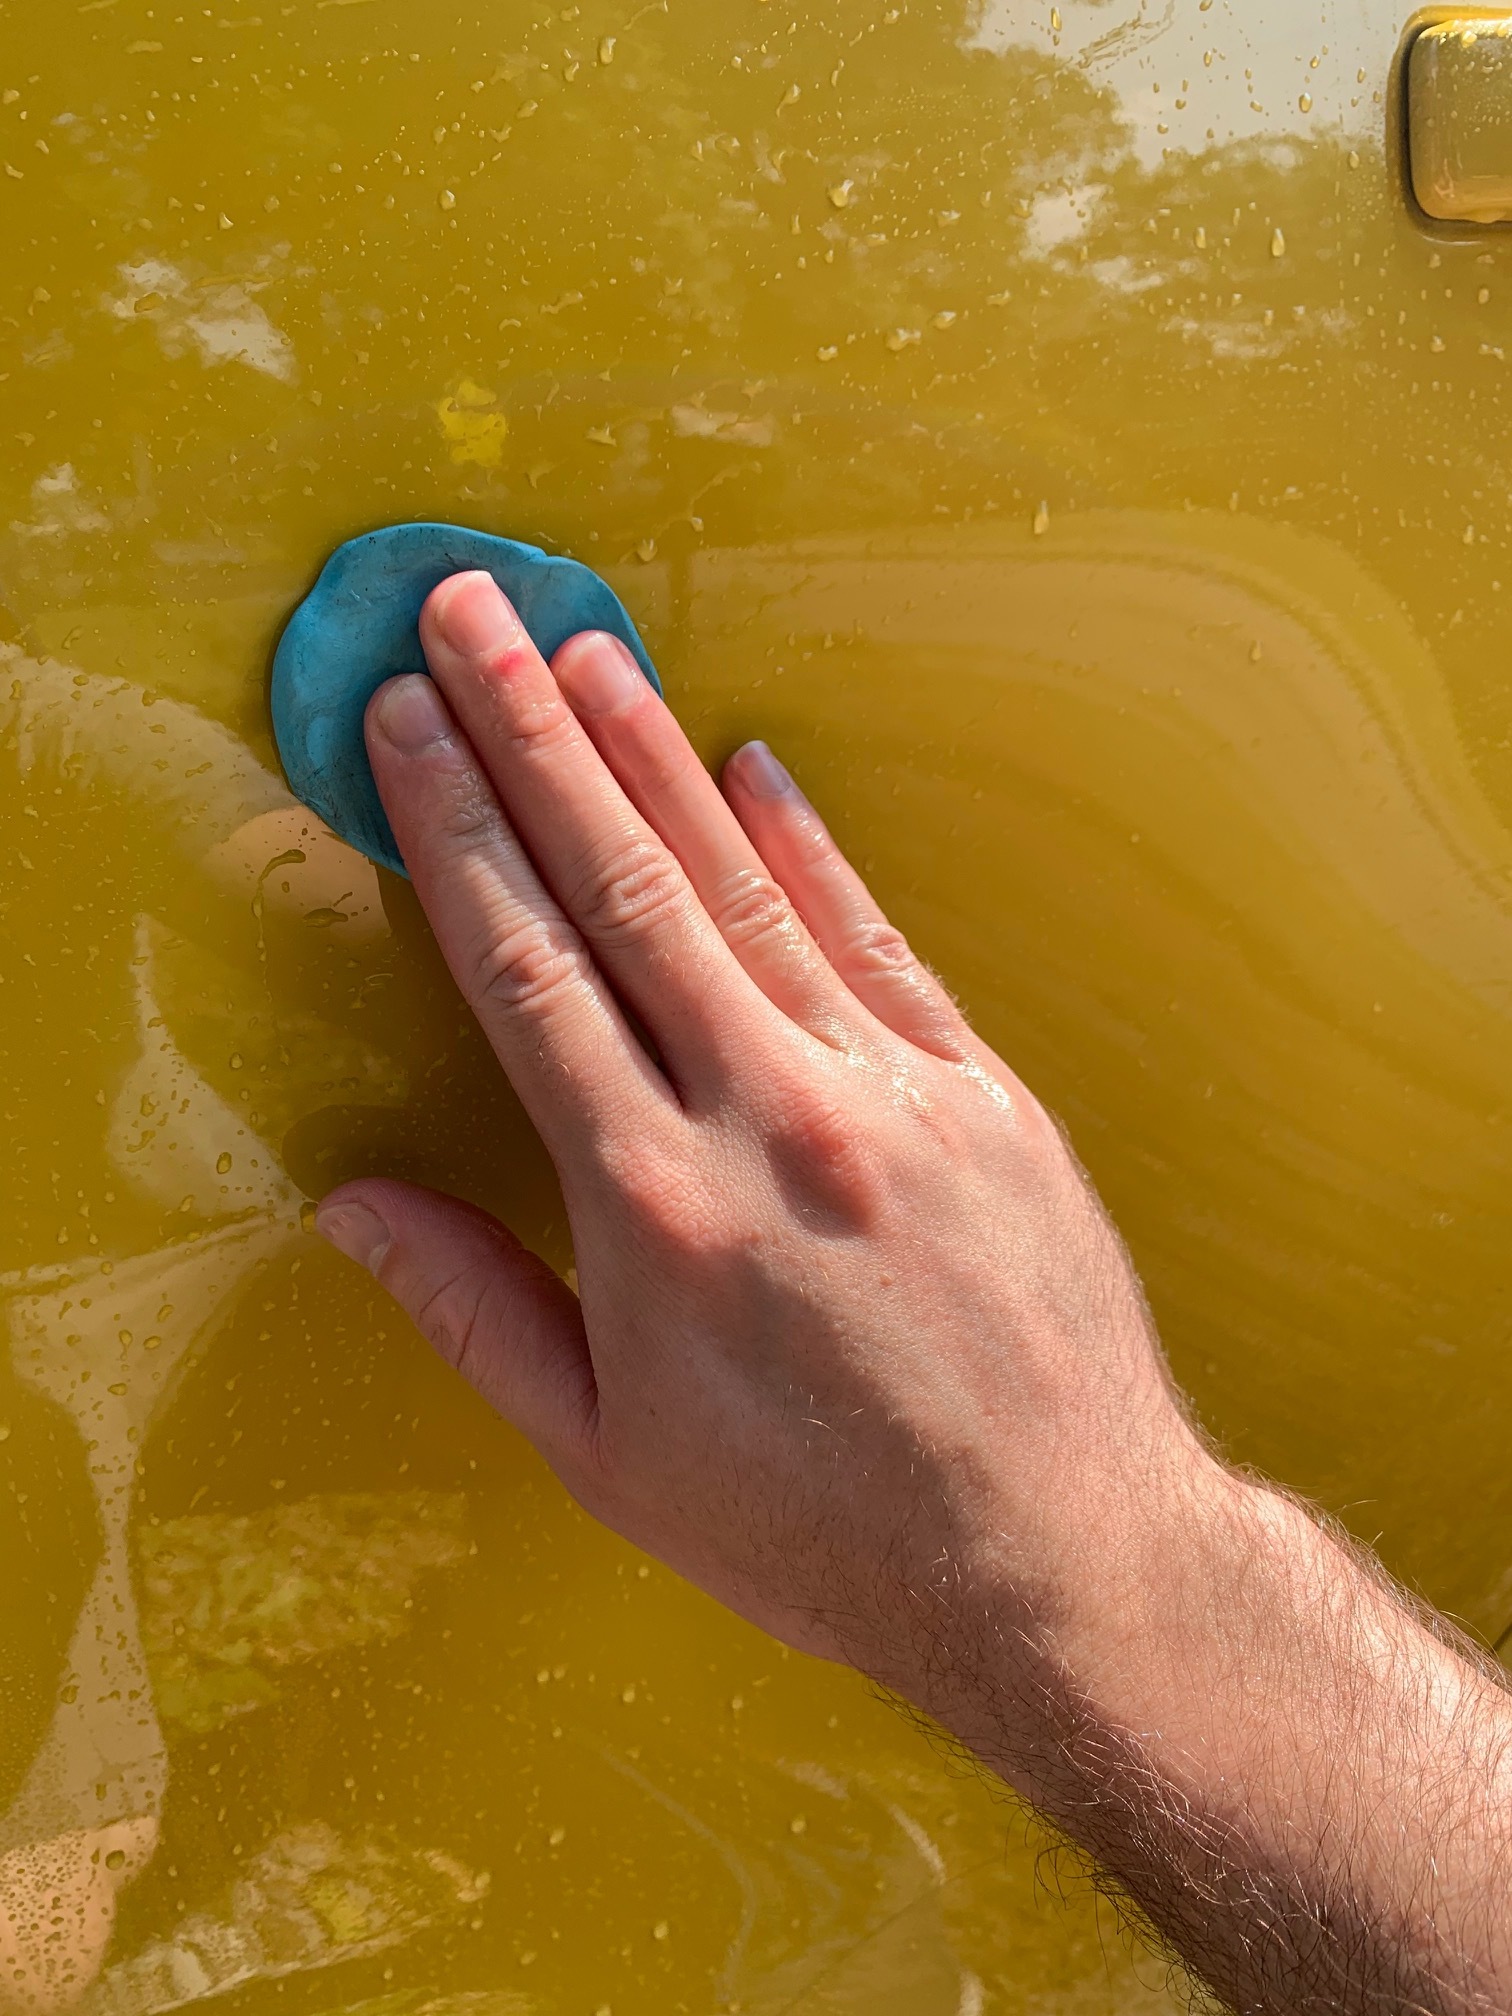
After chemical decontamination, I need to physically decontaminate the paint with a clay bar. Again with Optimum No Rinse, I can safely glide the clay across the paint with pleny of lubricity. This will bring out any leftover emedded dirt and contaminants.
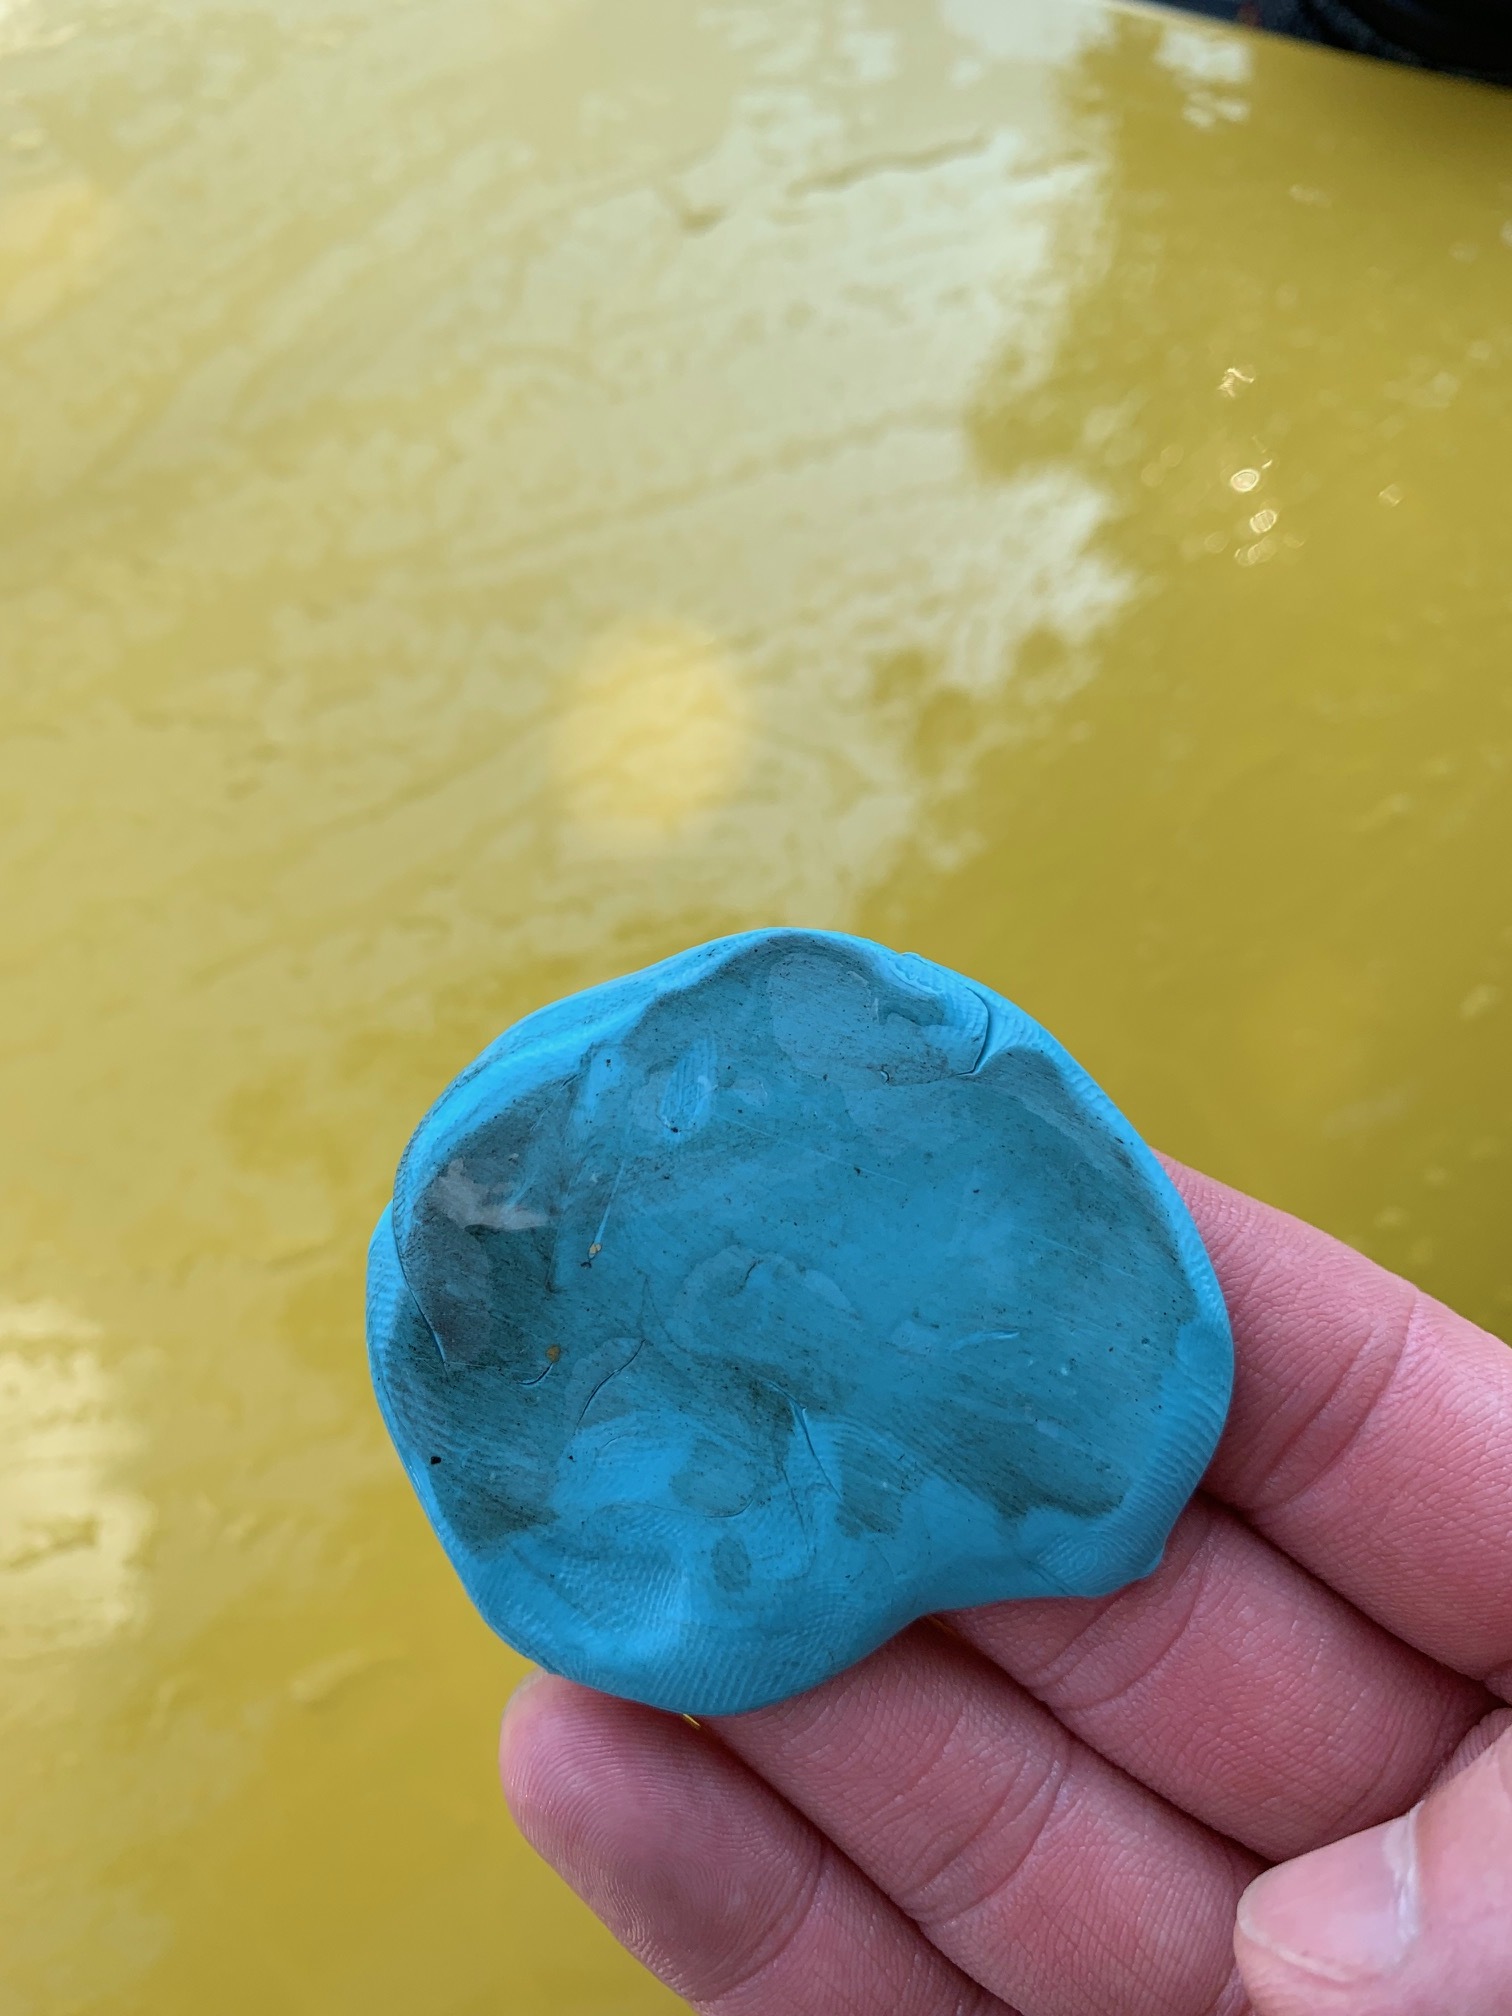
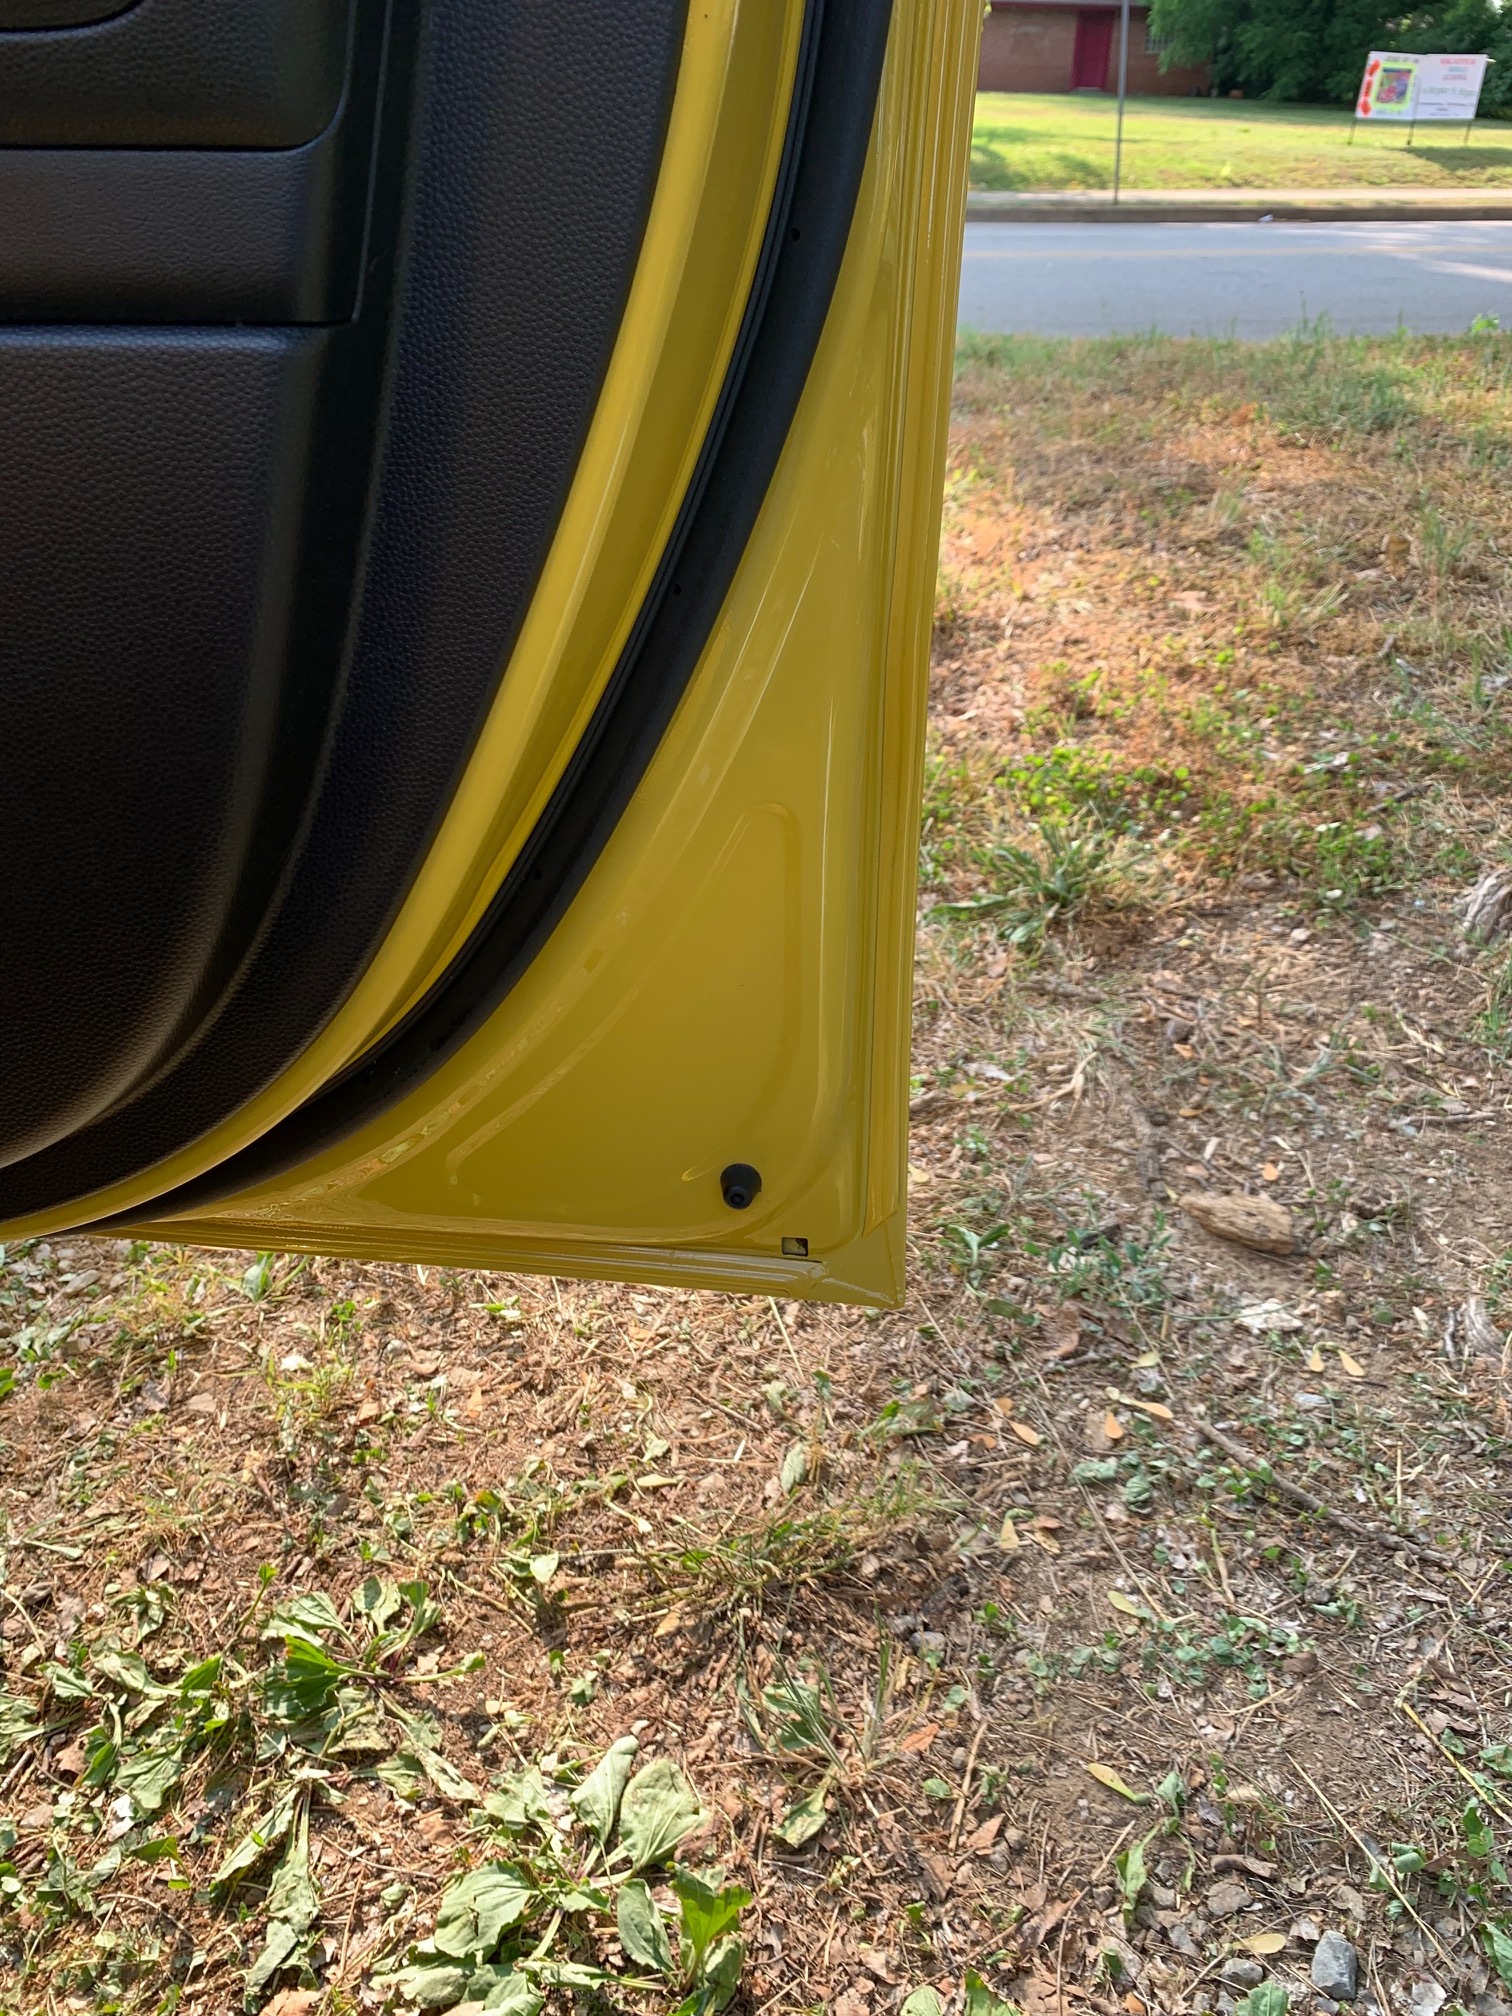
As you can see, there was plenty of embedded dirt and contaminants here and we’re on our way to a truly clean and shiny car! Door jambs are cleaned afterwards as well.

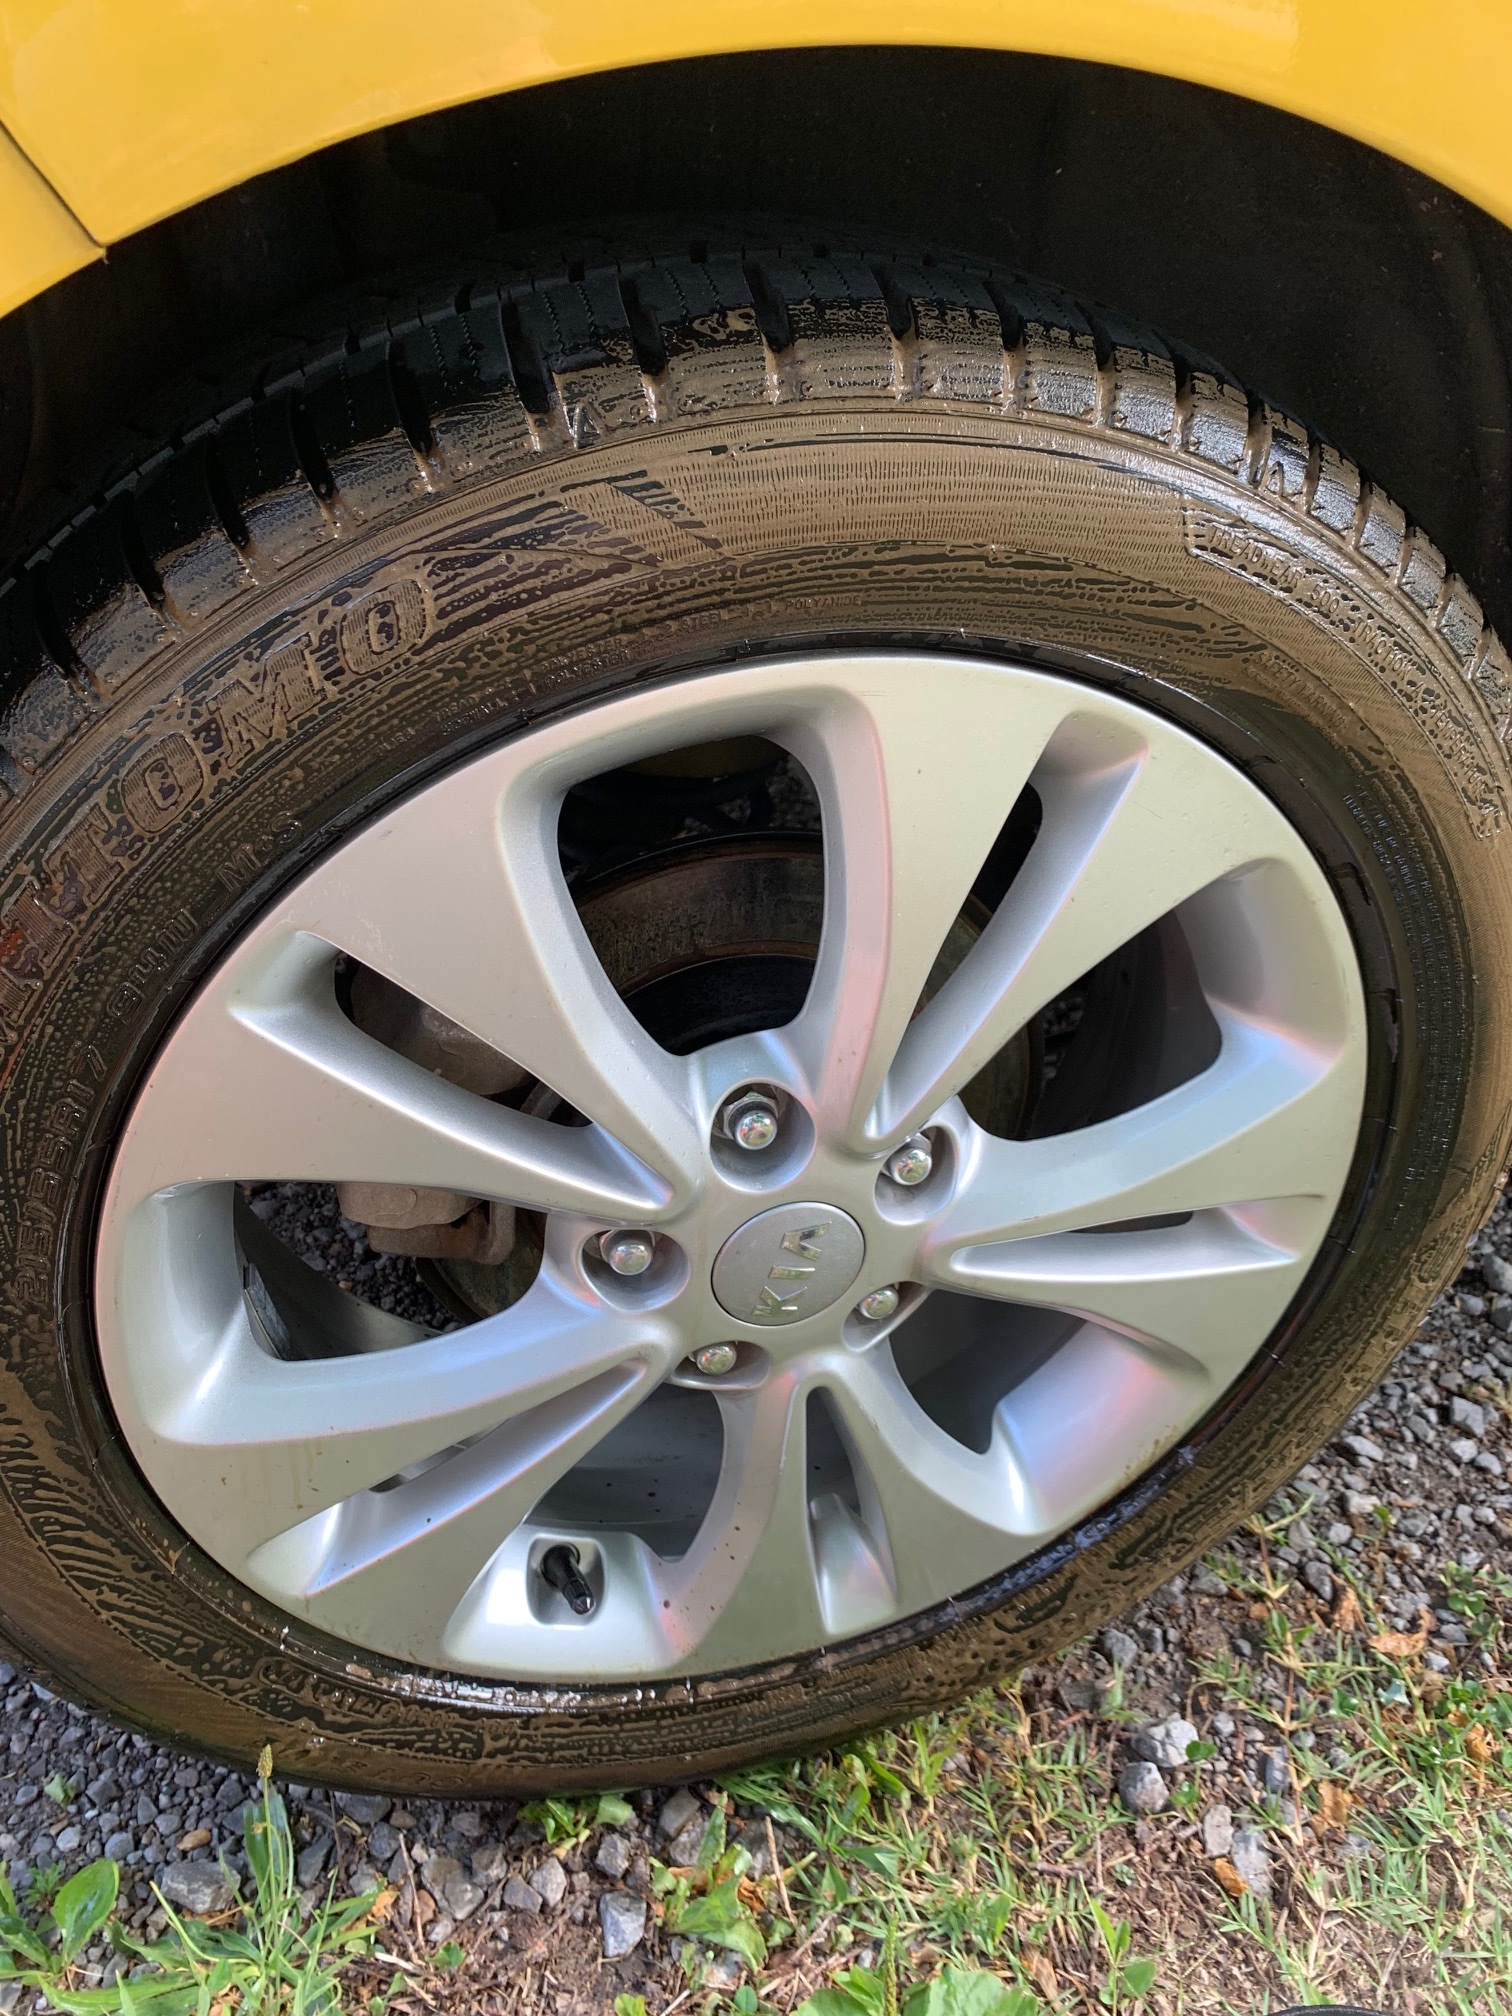
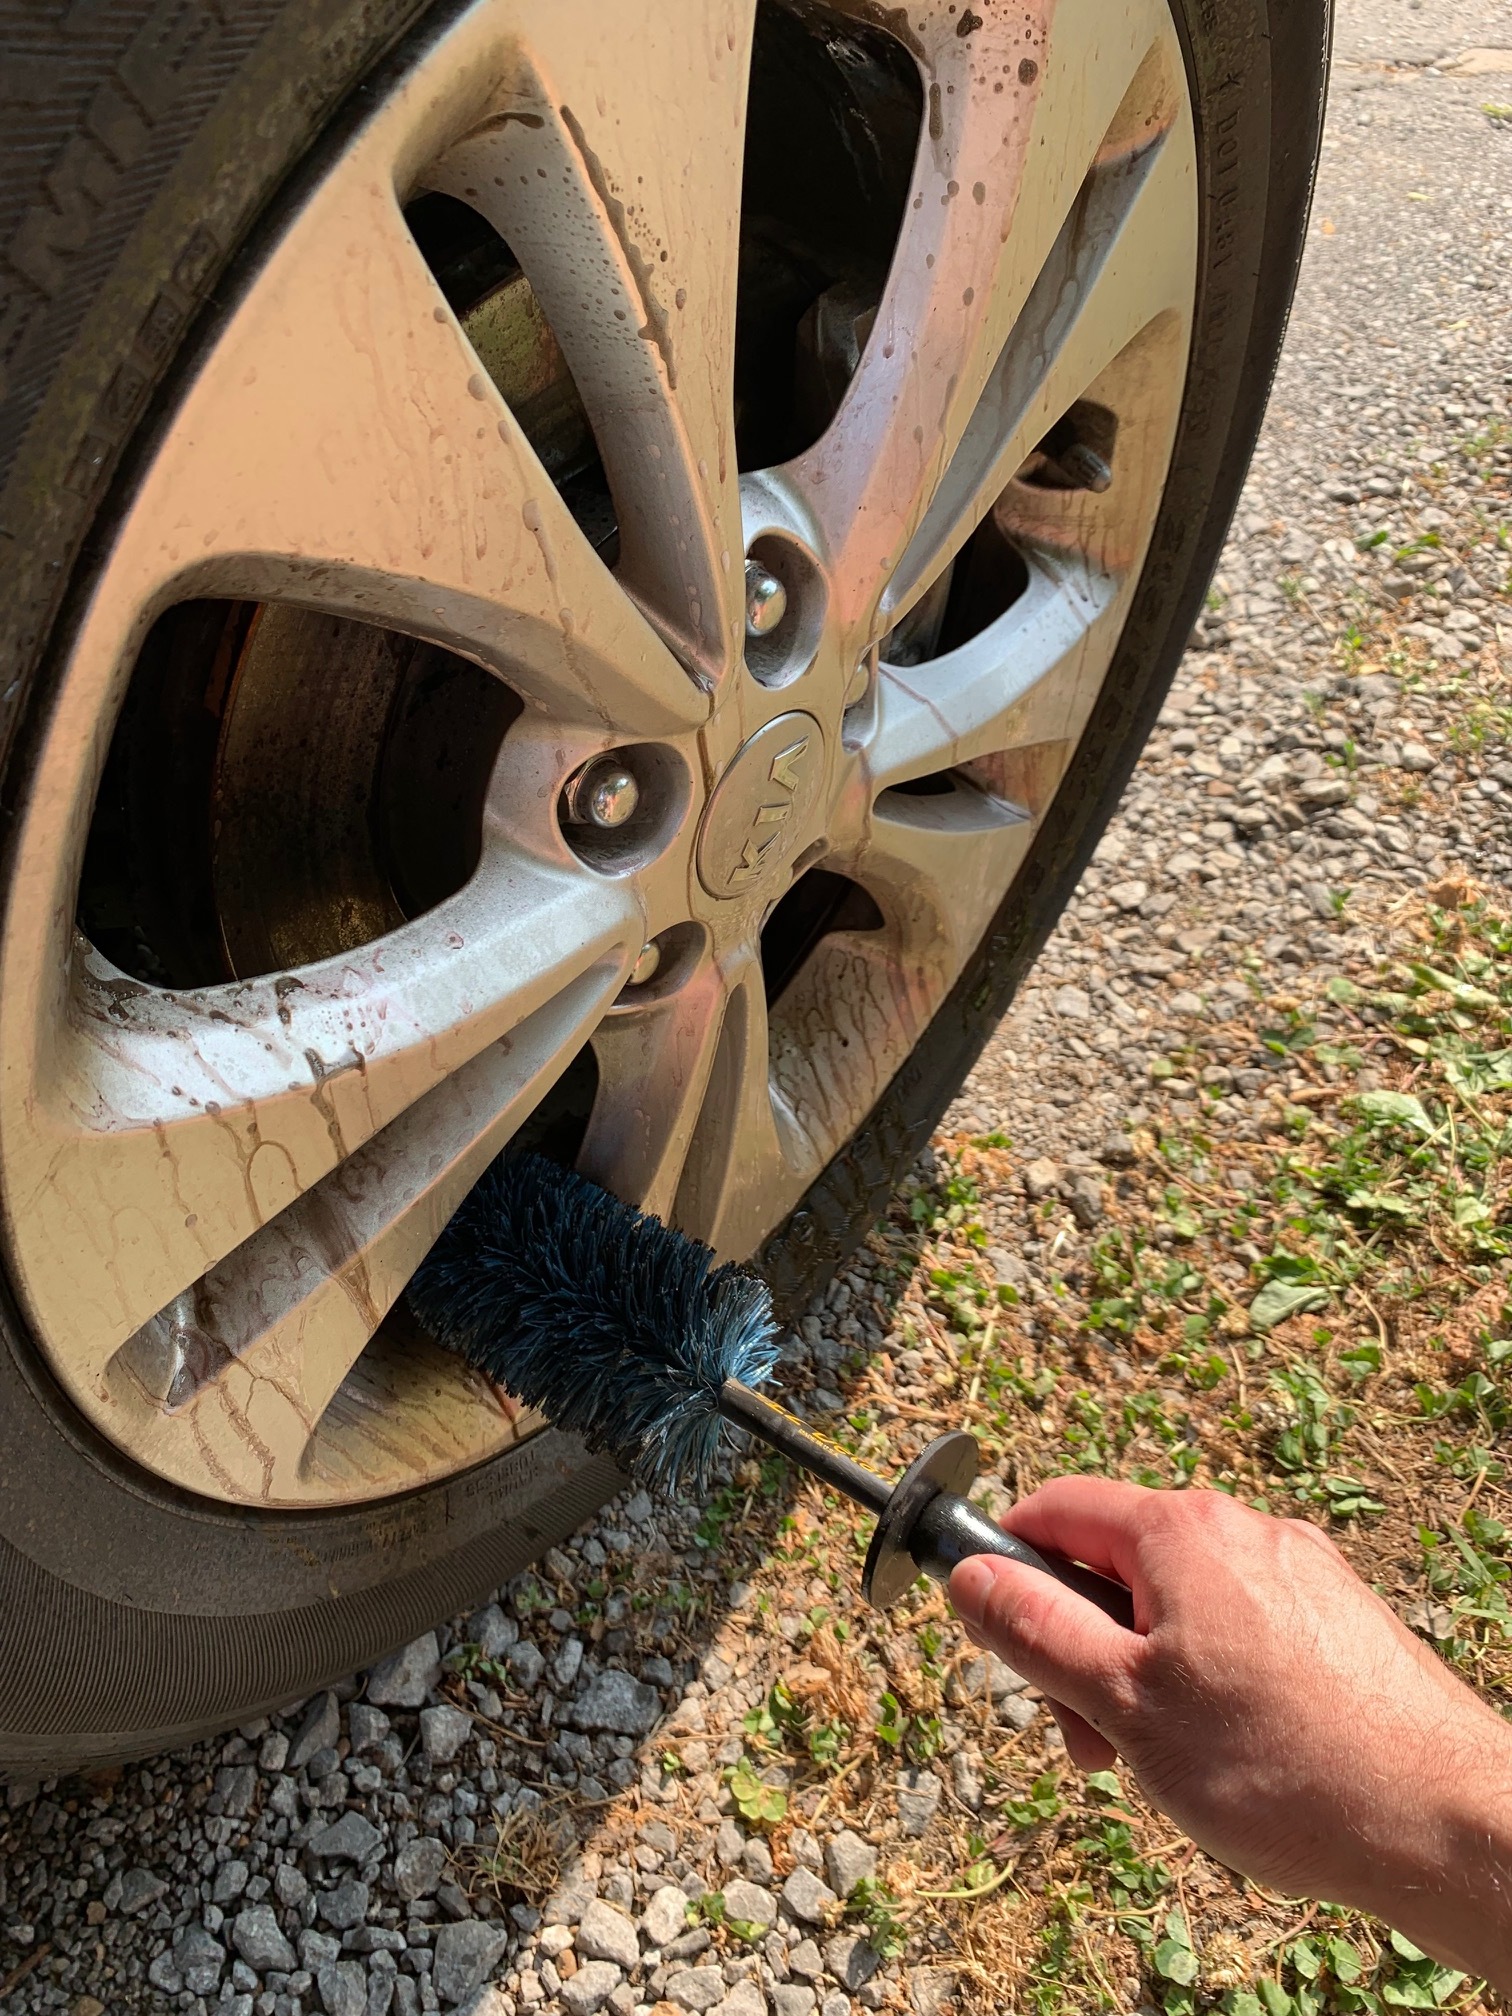
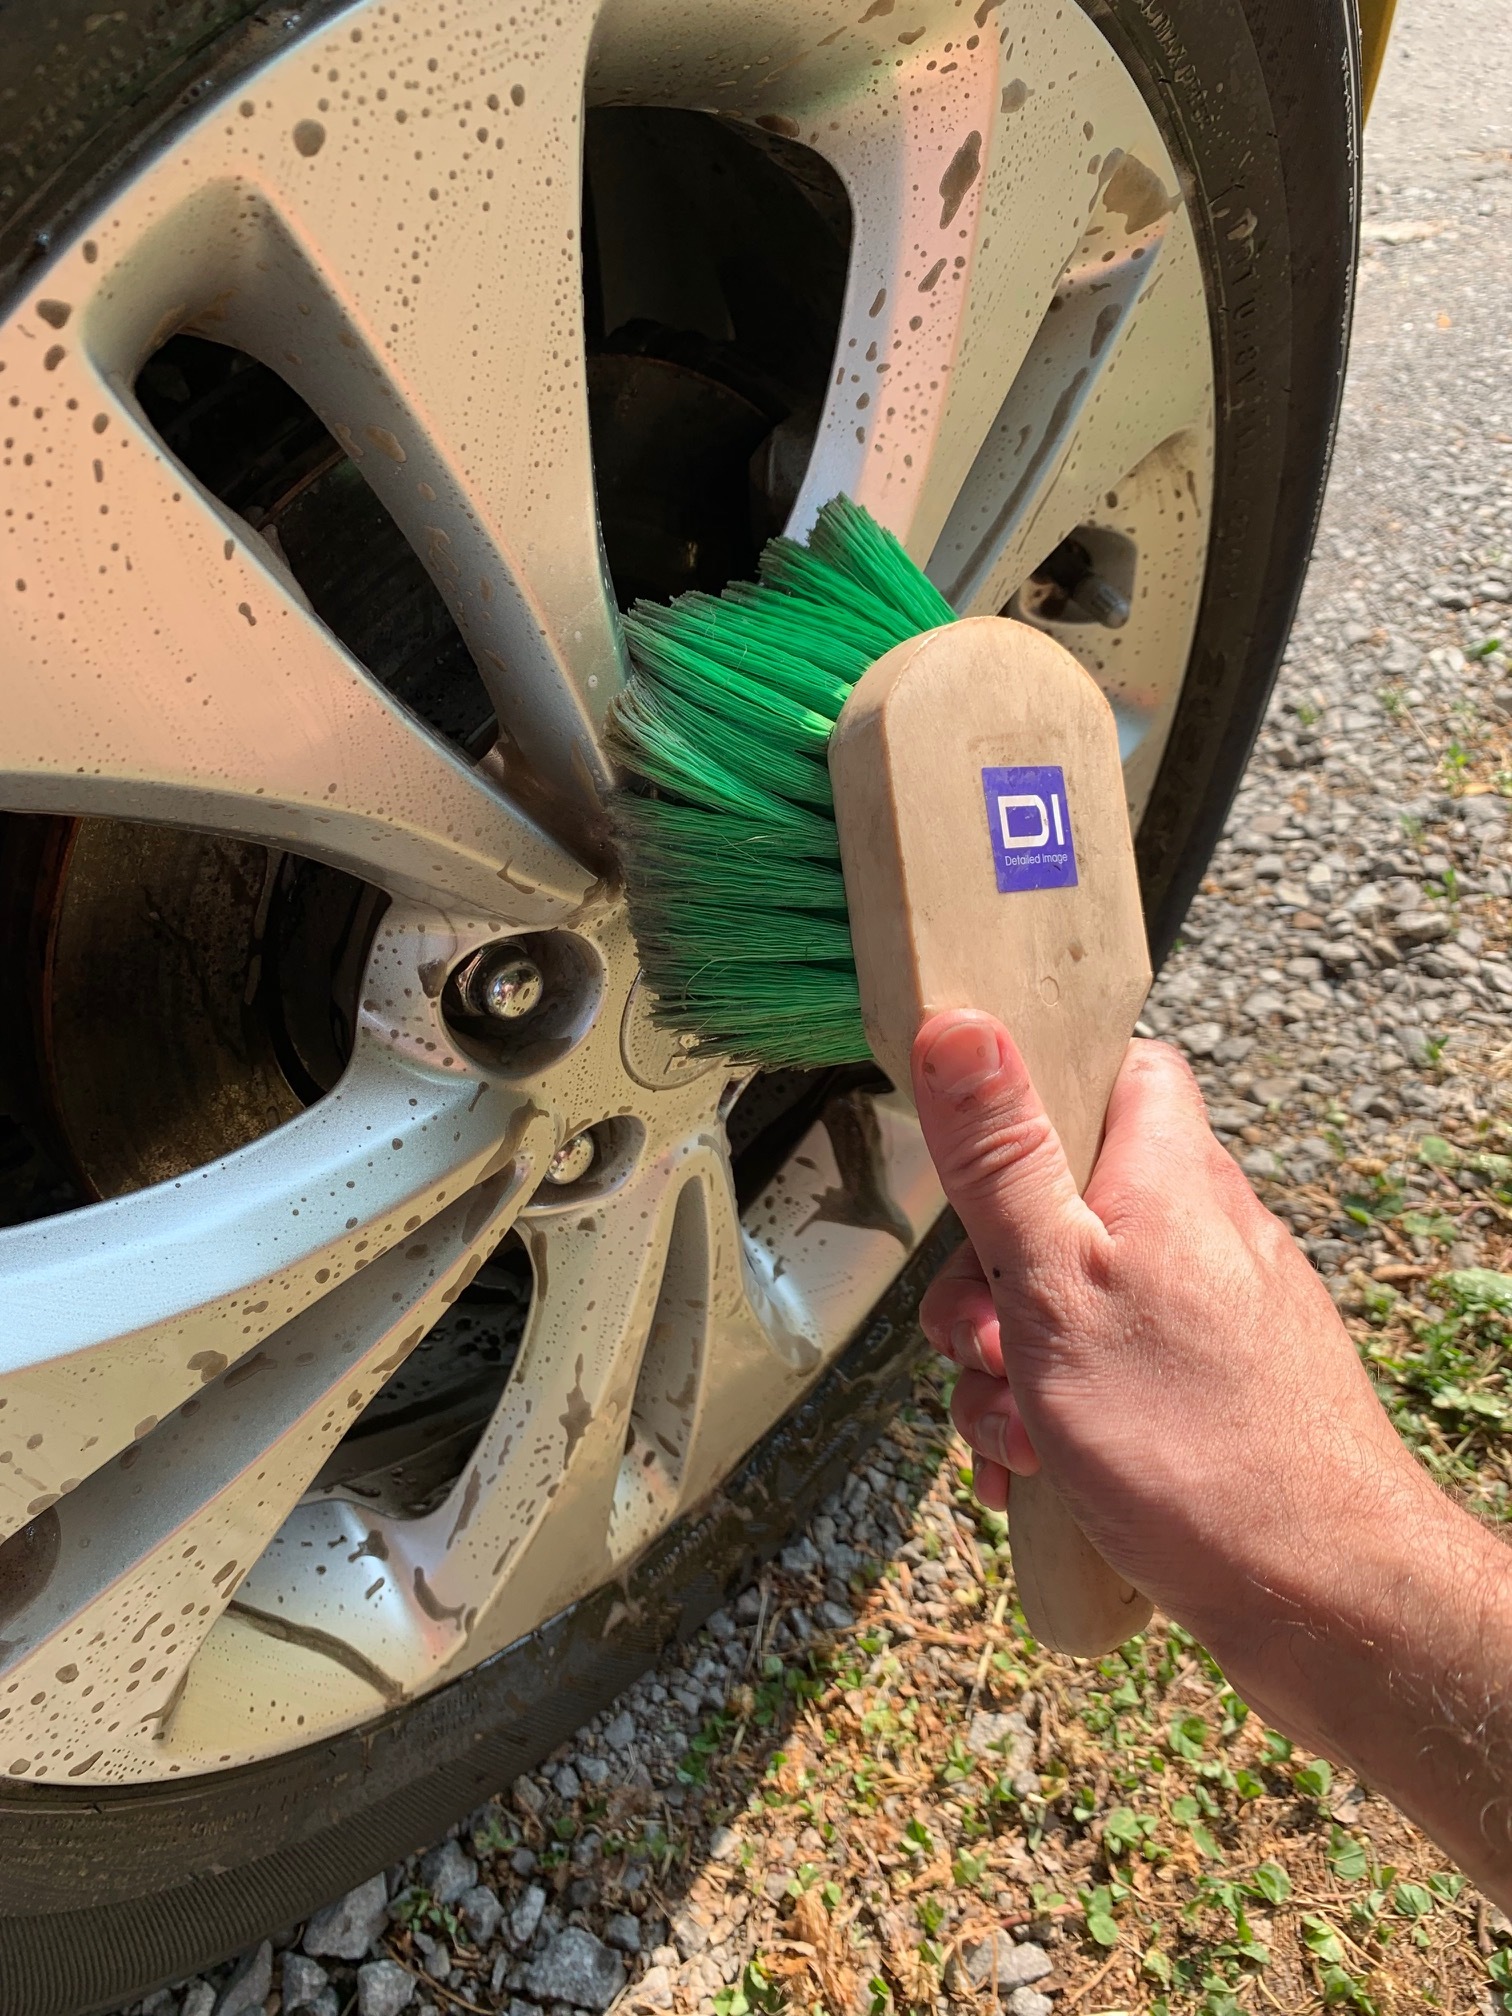
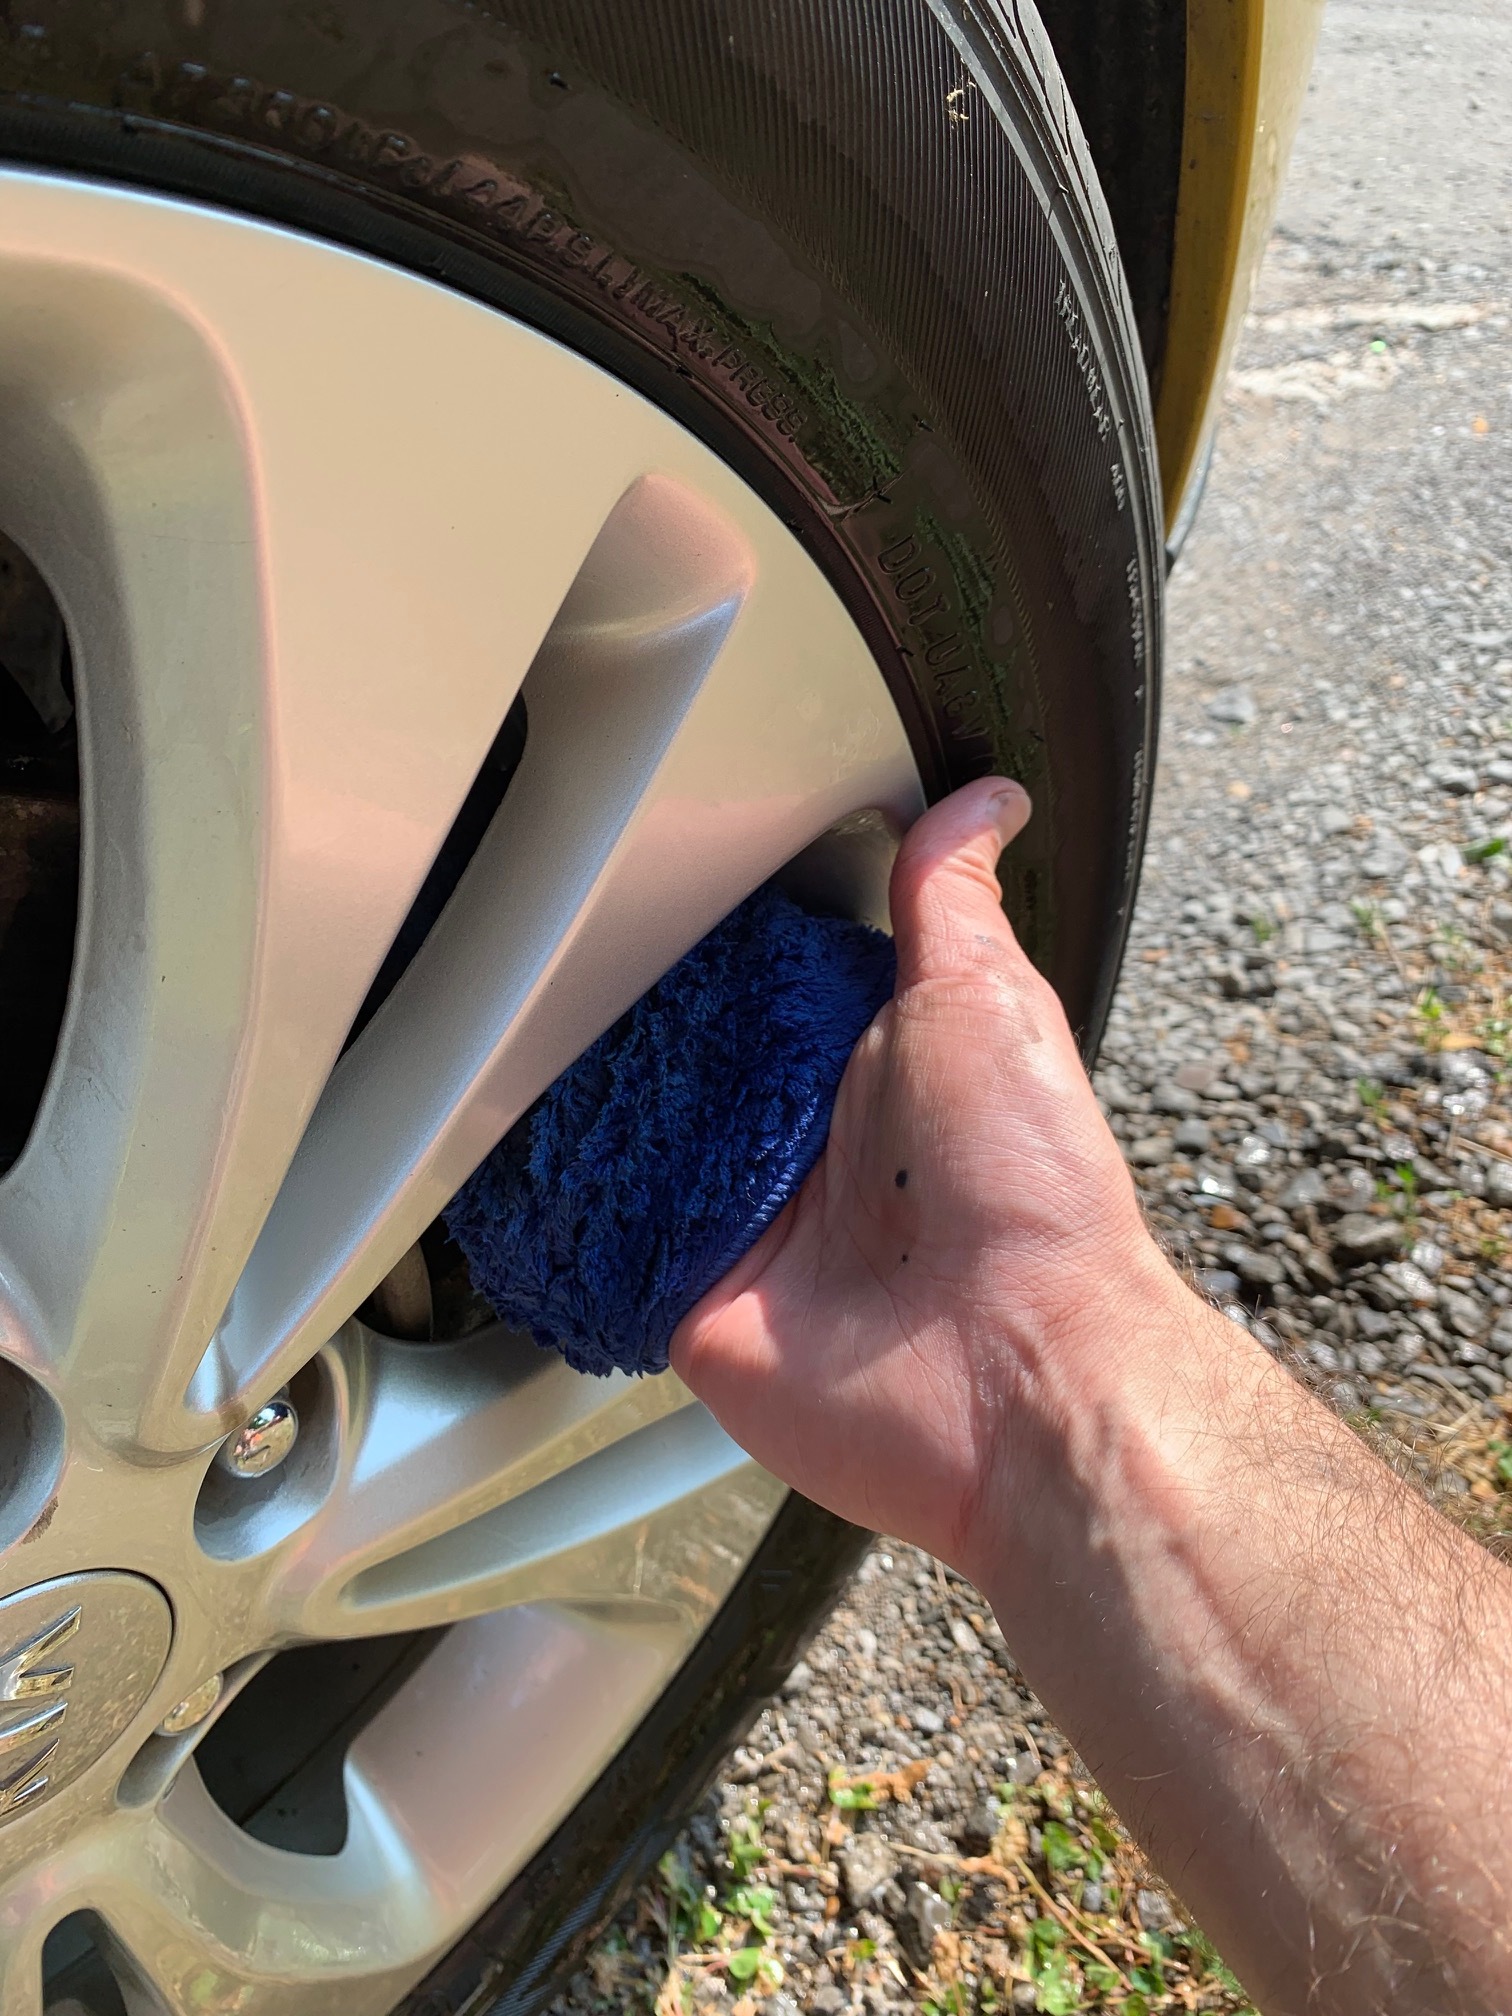
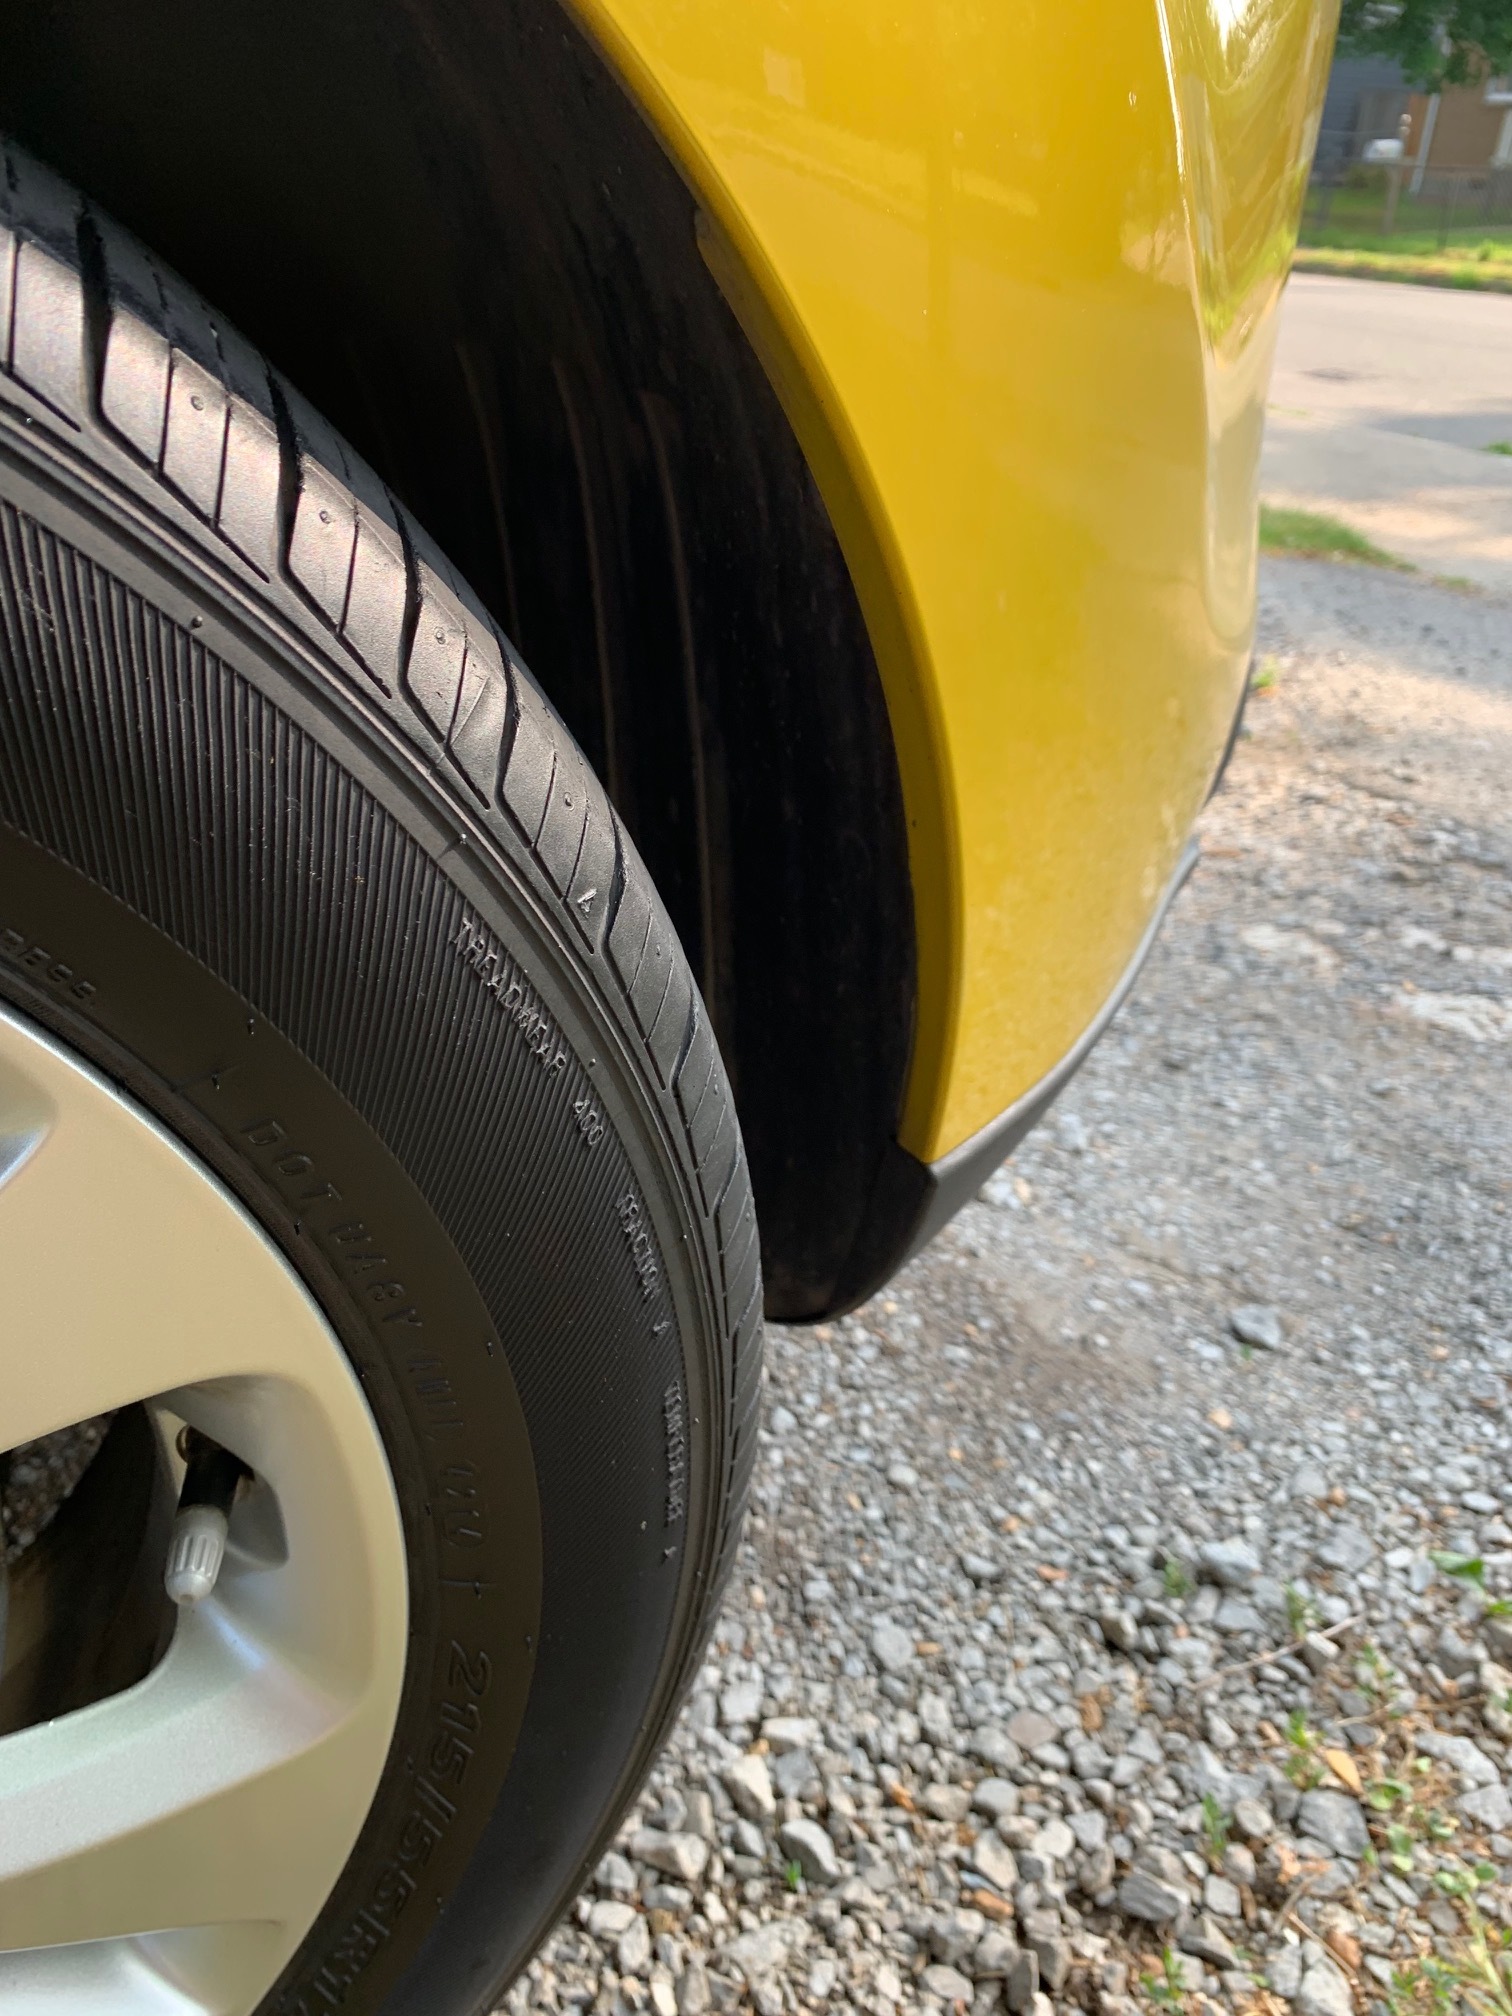
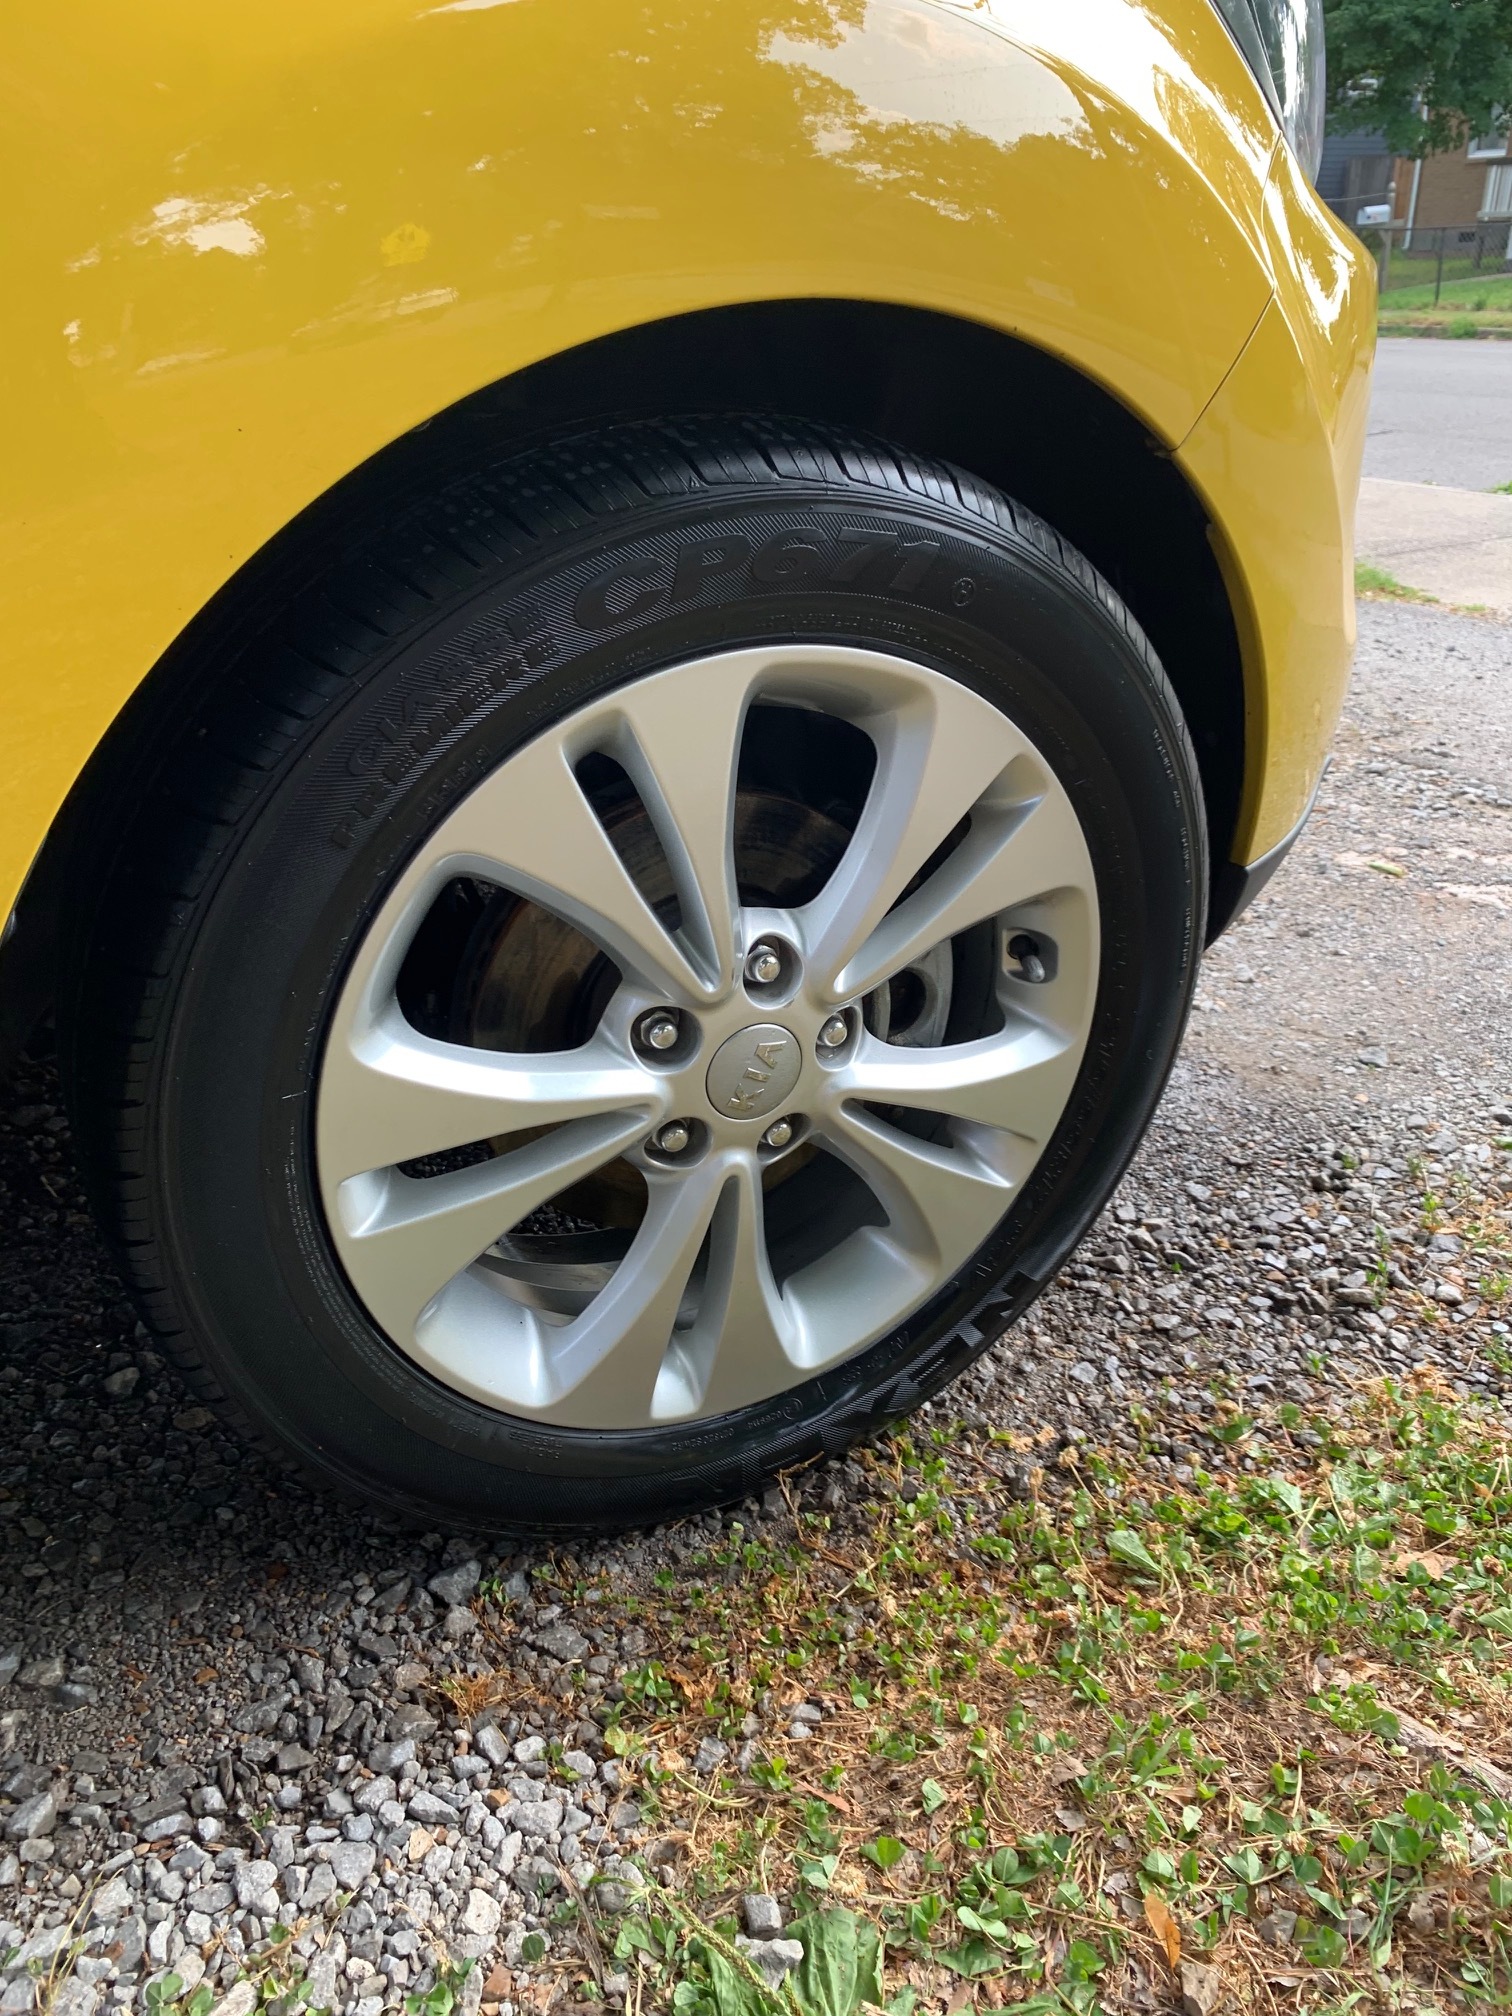
Next up is the wheels and tires. By scrubbing the tires and wheel wells with an alkaline cleaner, embedded dirt can be removed to allow a dressing to last longer and bond better preventing sling. Utilizing more fallout remover on these wheels helped remove months of brake dust. First, I deep clean the wheel barrels with a long detail brush and then move on to the faces of the wheels with a soft, feathered wheel brush. Lastly, the back of the wheel spokes are cleaned and then a dressing applied to the tire sidewalls.
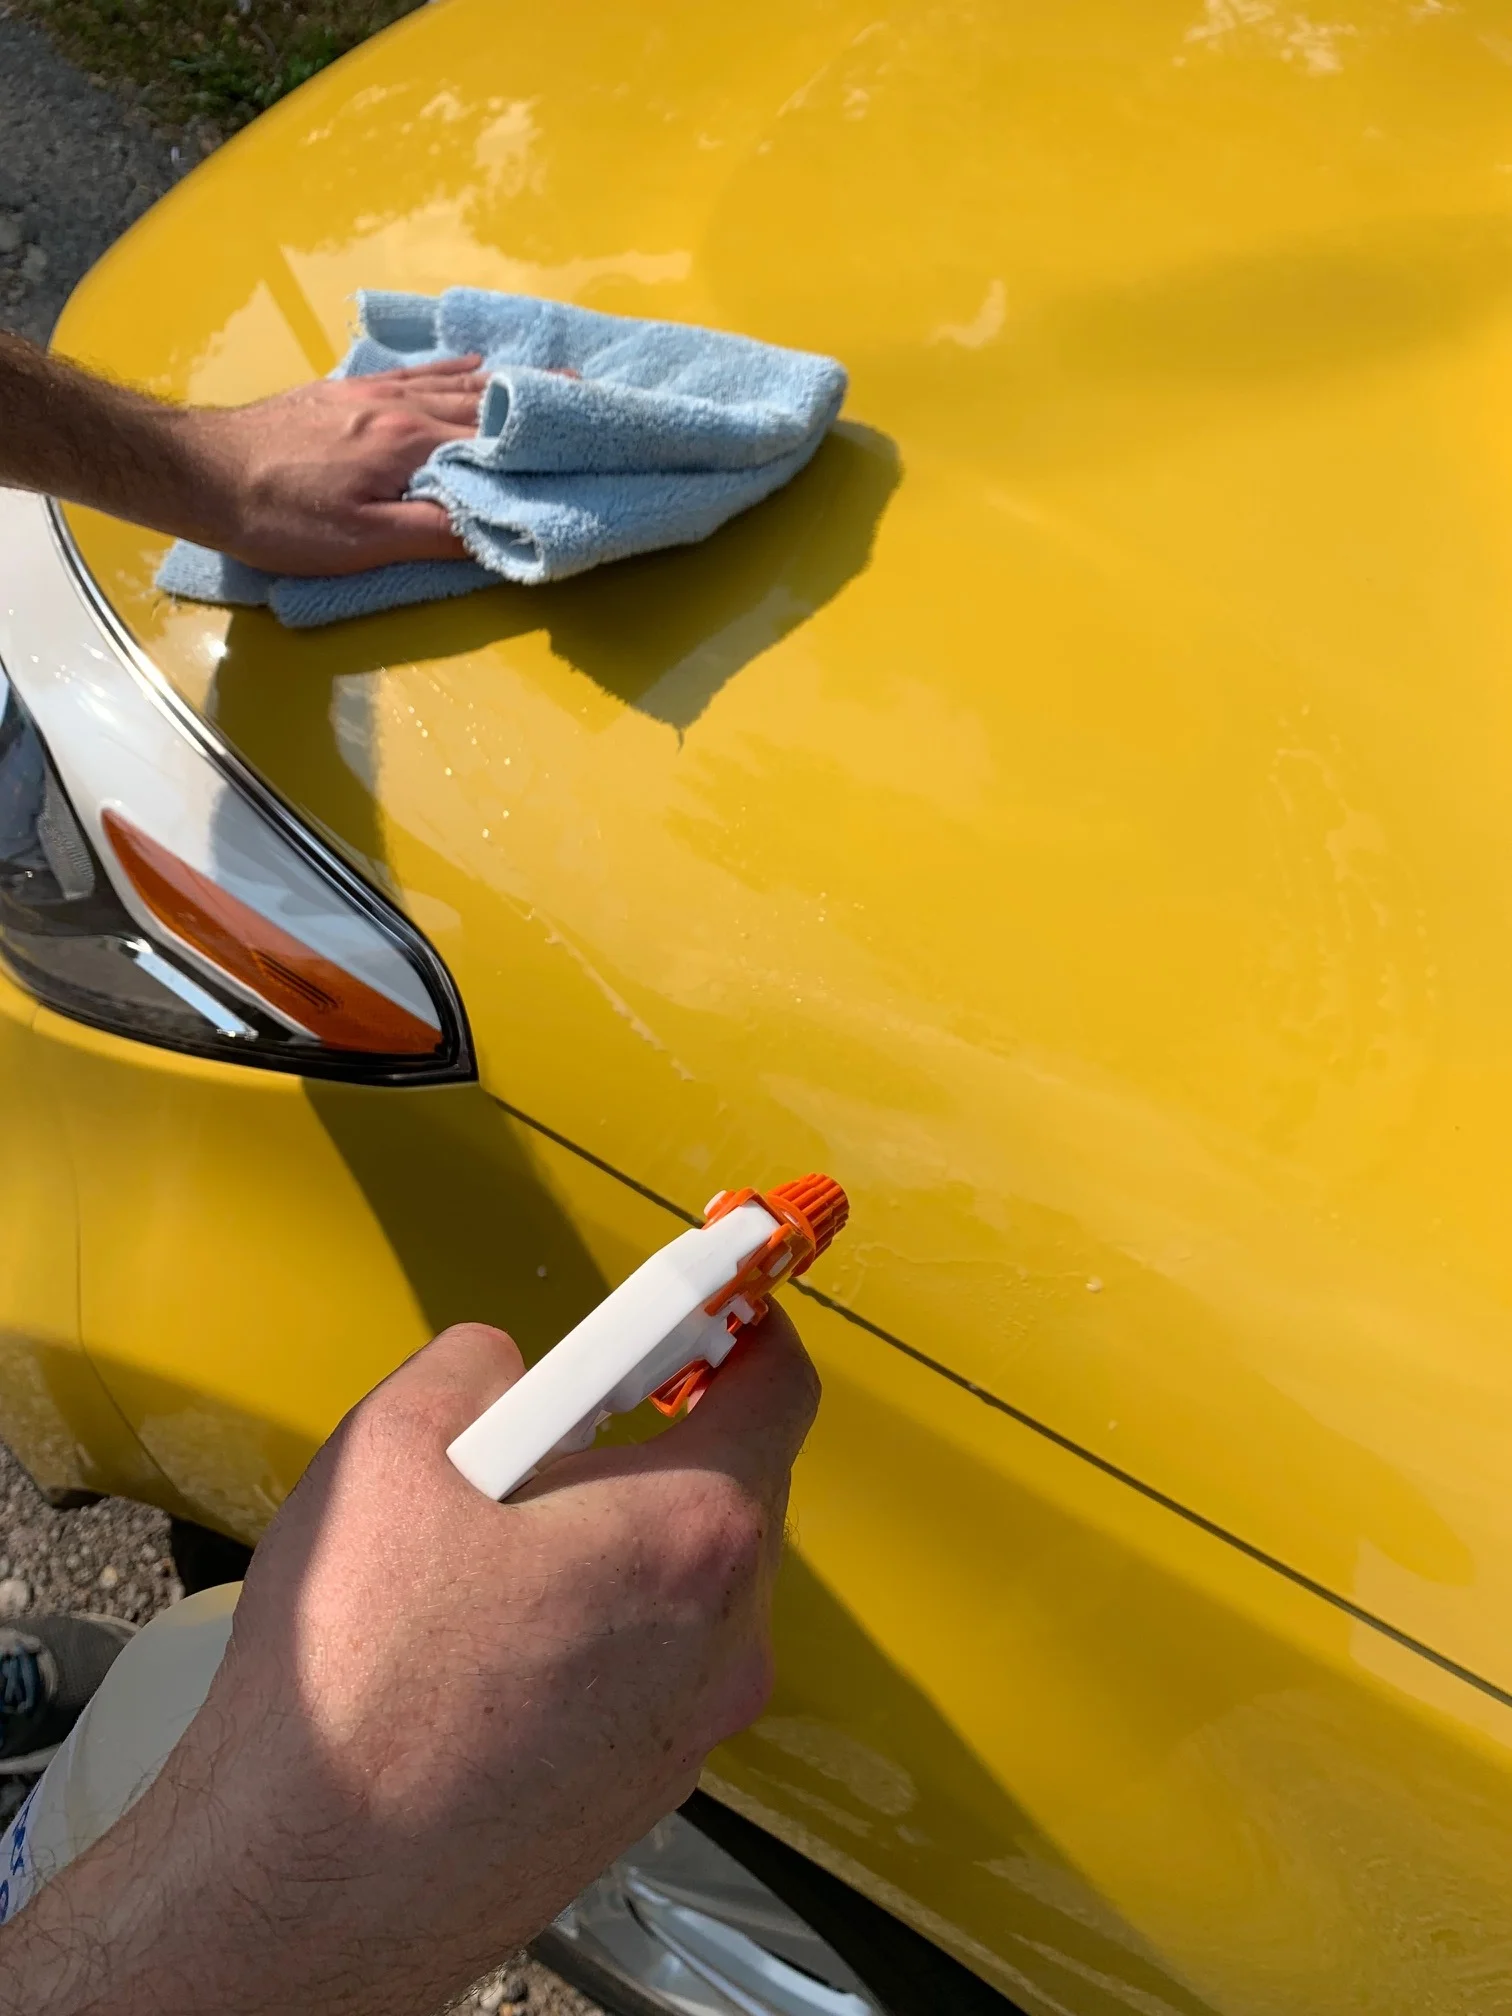
Now that the paint is clean, it needs to be protected. Here I am using a spray sealant to add some gloss and protection to all this hard work. I then dress any exterior trim afterwards.
Lastly, the windows receive a final wipedown to leave a clear, streak-free shine.

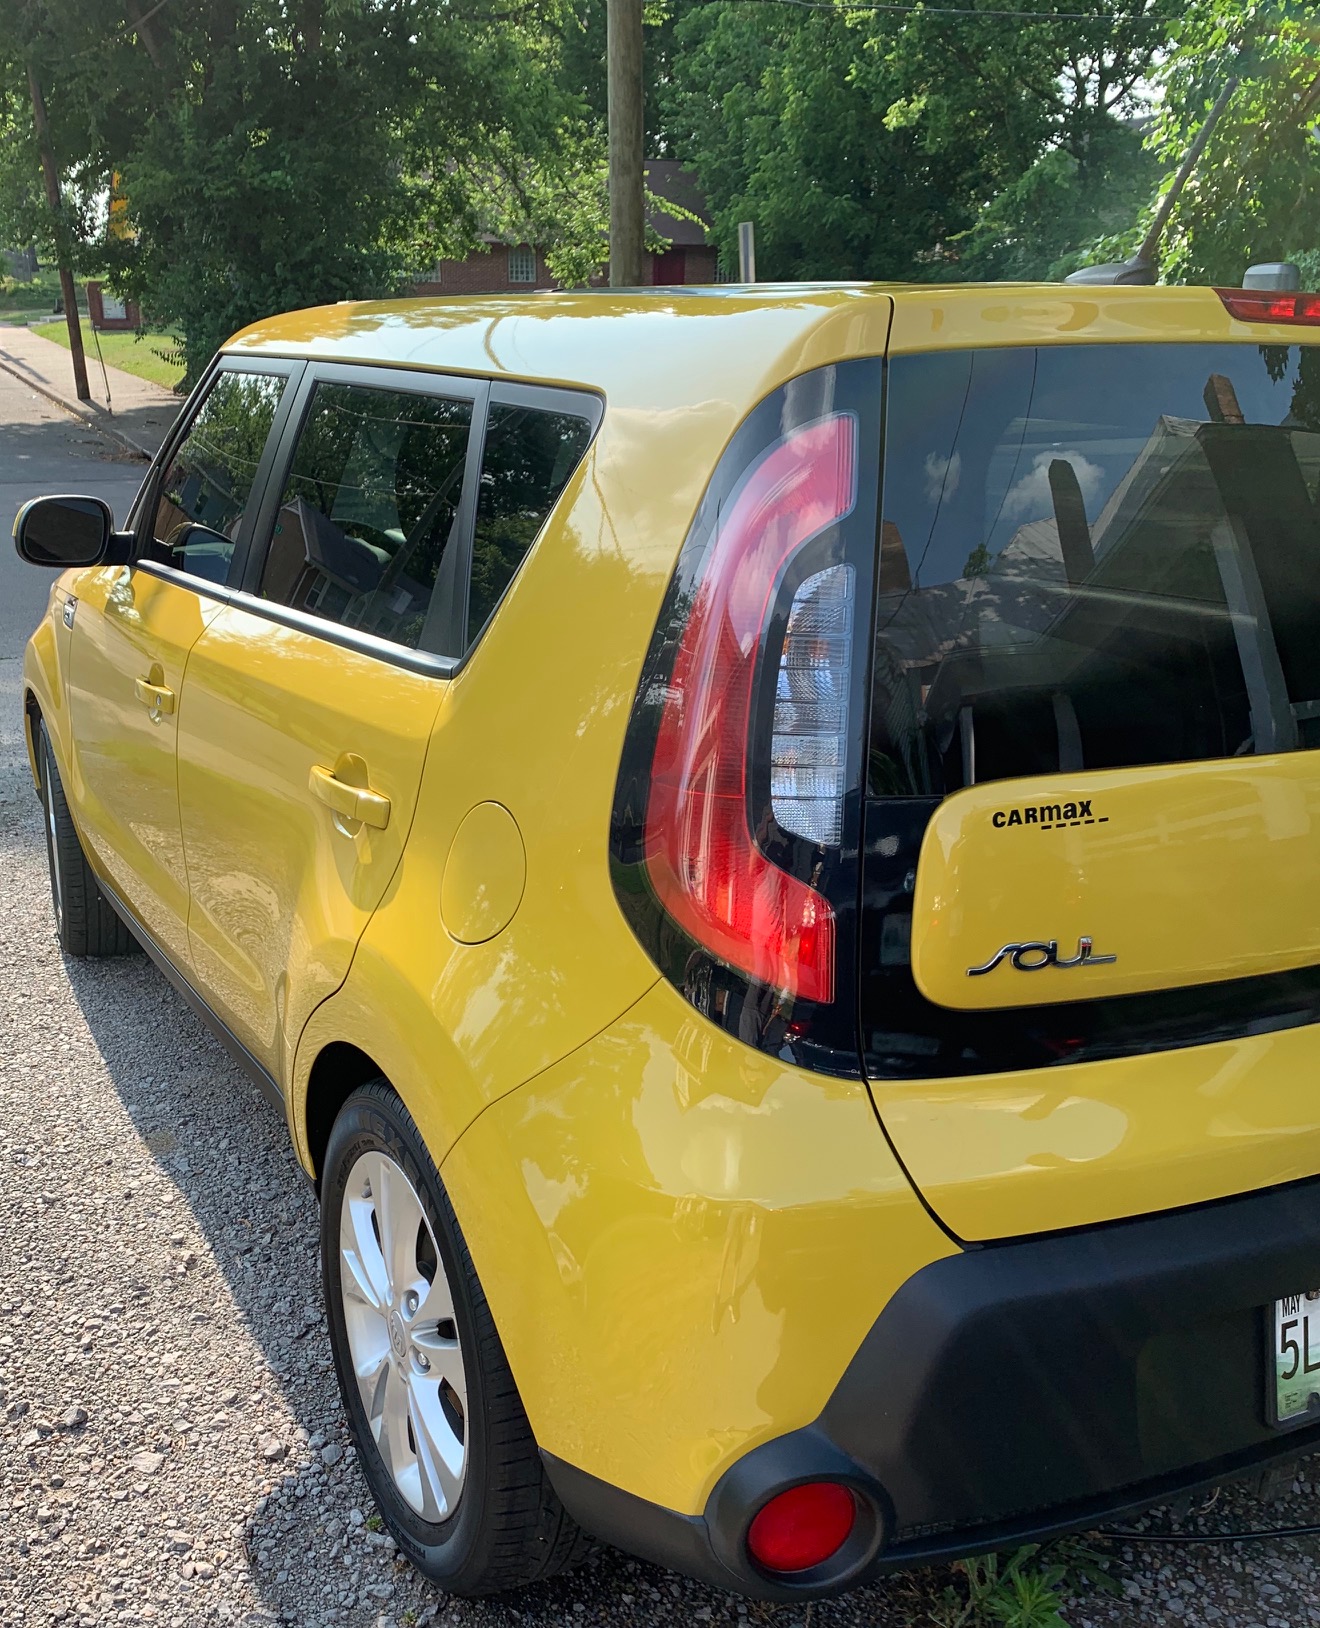
Some final pictures of the results!